Today I’m bringing you info about the Poppy apron. This idea came last year before Christmas when we released the Solar Flare potholders. I had seen some beautiful Christmas fabric from Prairie Love Knits that I knew I didn’t want as clothing, but I could totally see as a fun Christmas apron. Over a year later and that apron has been made though I’m saving pics of the Christmas one till next year.
An apron is pretty basic piece and I didn’t want to spend time creating a pattern that had already been done many times before. I mean, what do we really need? Some fabric on the front of us and some straps to keep it in place, right? I spent a significant amount of time looking through inspiration and then specifically at aprons online hoping to find some connection that wasn’t already done. I knew I wanted something that would be beautiful in linen and have fairly clean lines without a lot of pockets and pizzazz.
Next, I reached out to a long time friend of mine who has married into a bakery family and she herself has a bakery sized mixer in her kitchen! Now you HAVE to be “in the know” about baking if you have a massive mixer in your house, am I wrong? So I asked her, “What is something you really want in an apron?” and she had 2 comments – straps that weren’t so skinny they just get tangled in the wash and a cell phone pocket on the side keeping it out of the way when leaning on the counter which made total sense to me.
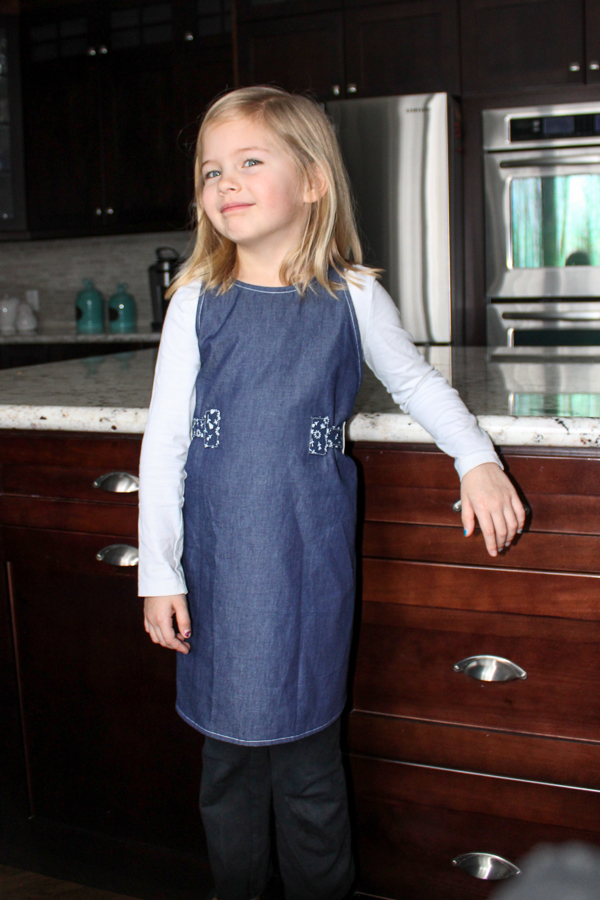
I took all this top shelf research to my sketches and the result is what I consider a “fancy” apron. It’s what I believe is a balance between a simple apron shape and elevated details to make it feel a bit special. It has decent coverage on the front, simple options, and the belt is that “something a little different” that I wanted to achieve.
Poppy spans both our size charts and beyond. It’s 2 separate blocks, but both in one pattern purchase.
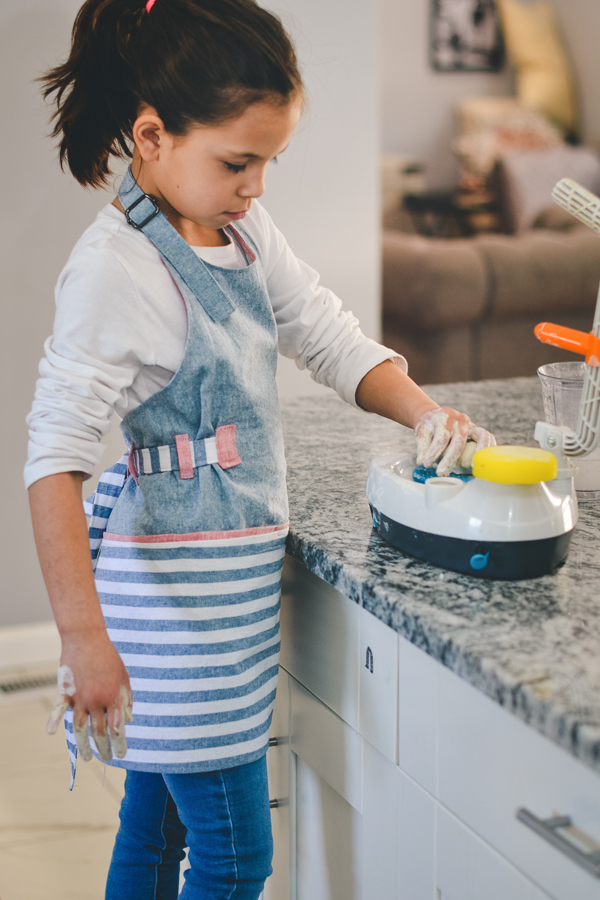
- Kids’ sizes XXS – M
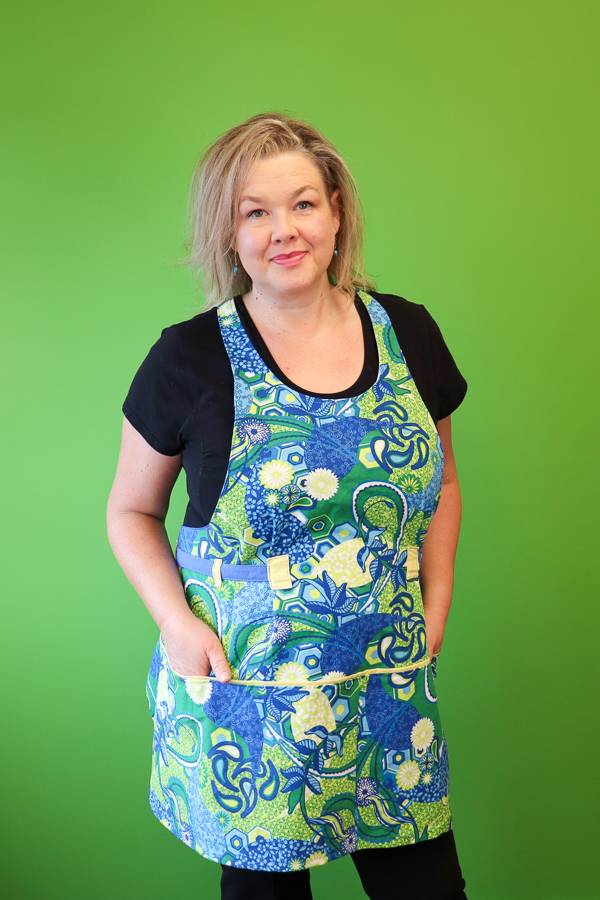
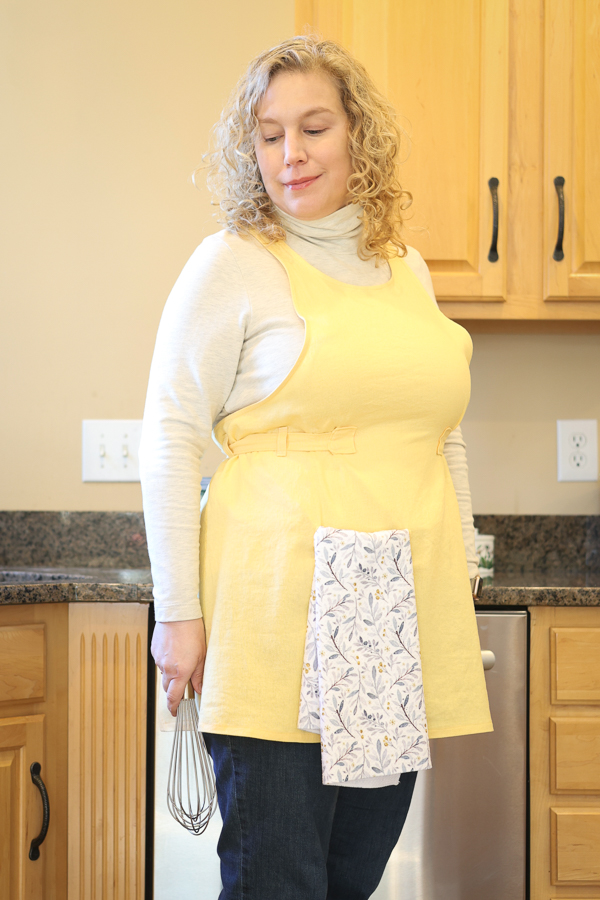
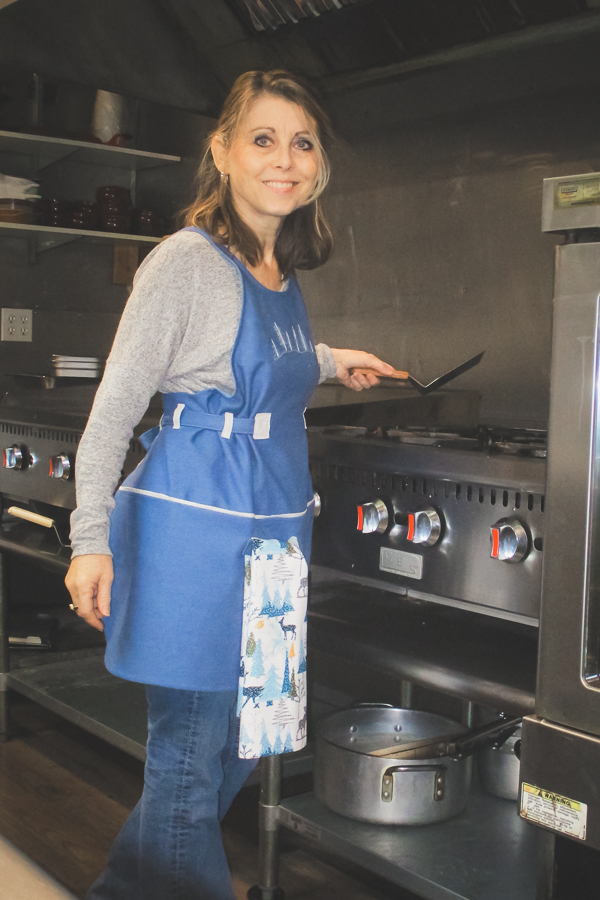
- Miss sizes L & XL
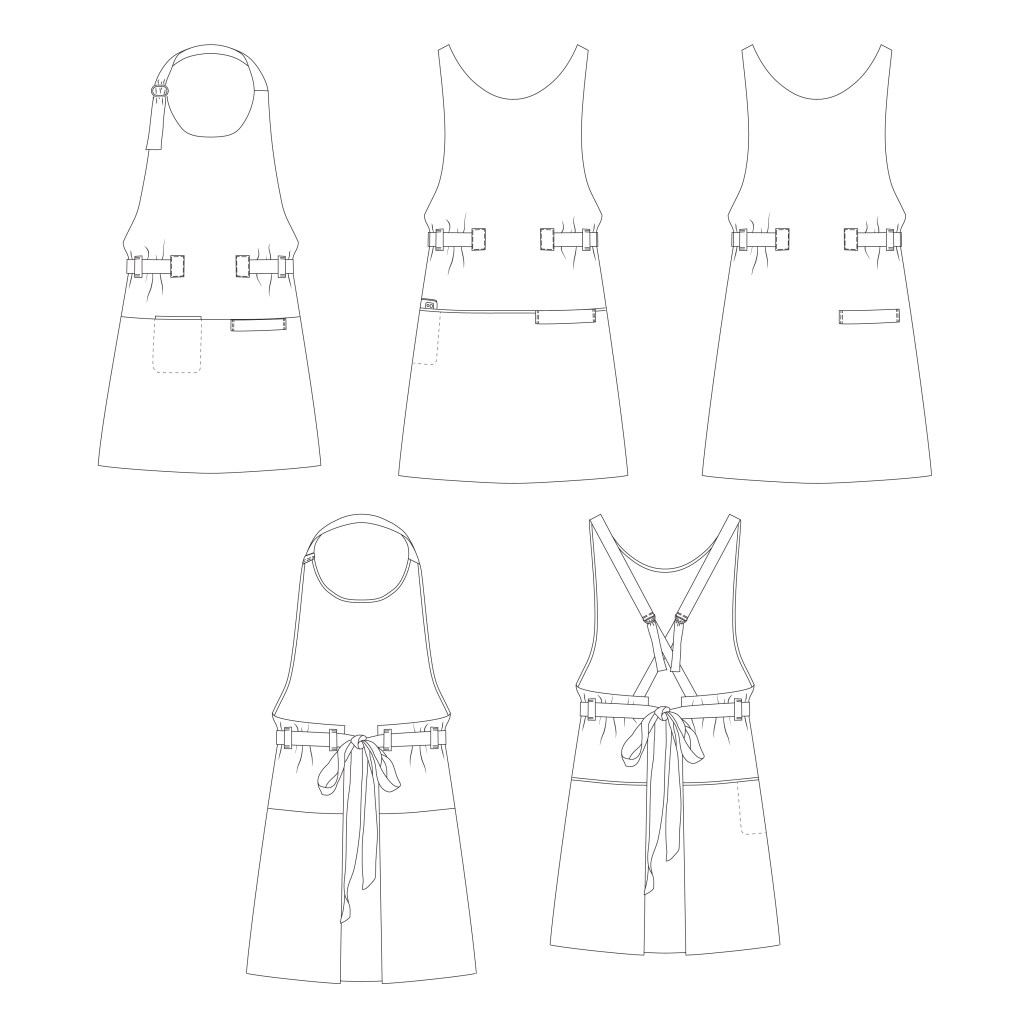
- Simple one-piece or Pieced apron with pocket option
- Belted waistline with belt loops
- Scoop neckline
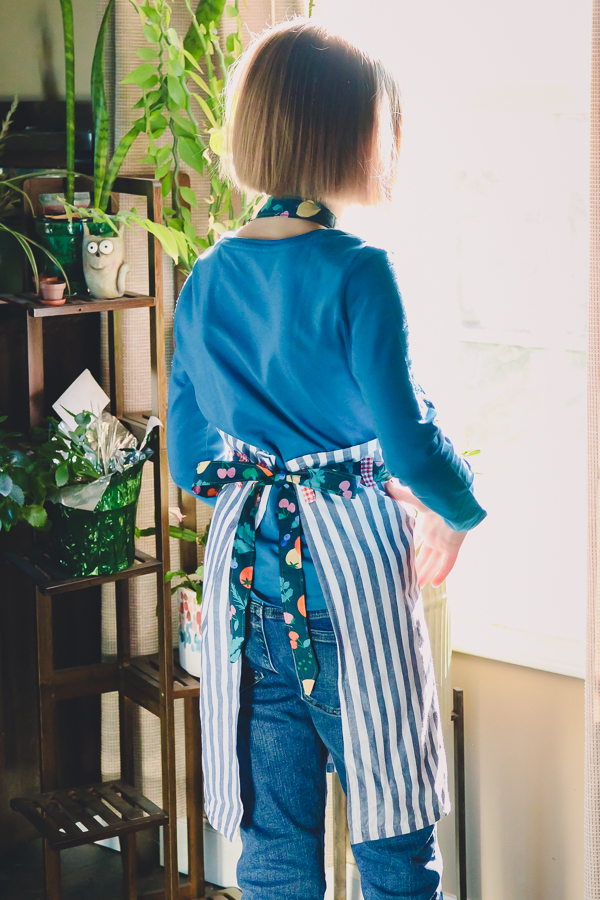
- Adjustable straps – crossed or halter
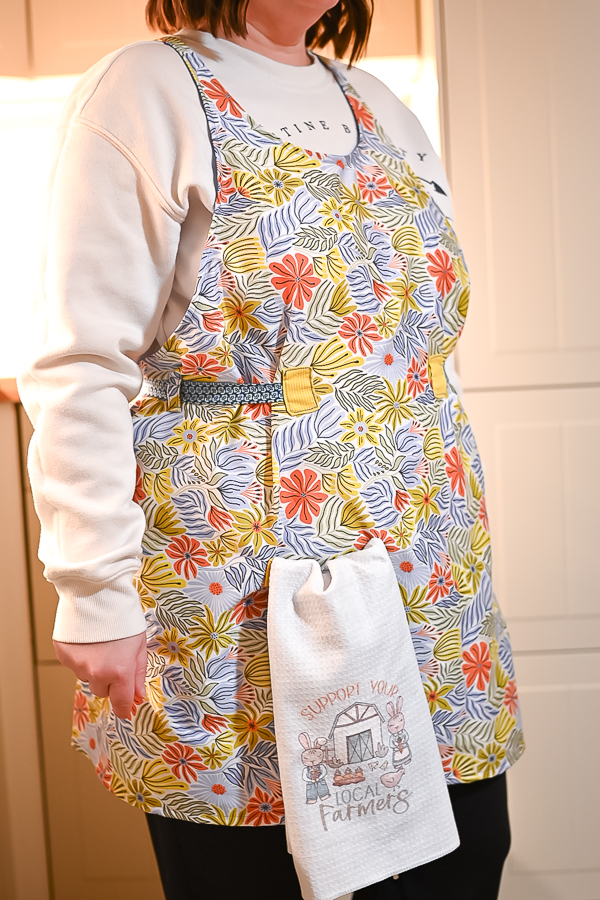
- Optional towel loop
- Optional full width trim or pocket trim (pieced apron only)
- Kids’ inseam pocket on the front (pieced apron only)
- Miss inseam cell phone pocket on the side of hip (pieced apron only)

SIZING
I went into this pattern thinking about all the easy “one size fits all” aprons in the world and came out the other end thinking, “How do they even do that????”. Now, to be fair, it DOES tend to work much better for adults over kids. Kids cover a much wider height range and this is where we had some sizing hiccups to figure out.
The one thing that makes this apron different in terms of a “one size fits …. a bunch of people, but not all” apron is that the belt loops really dictate where the belt is going to sit and you can’t just pull the apron flat and wrap the belt around. The bodice section of the apron needs to be fairly close to actual body measurements in order for it to fit nicely. The adjustable straps do give us a bit of range, but you don’t want to rely on the straps alone. For this I have a full page in the tutorial with suggestions on how to choose the best size. This includes a finished measurements chart that you should use to get a feel for what the finished product will be.
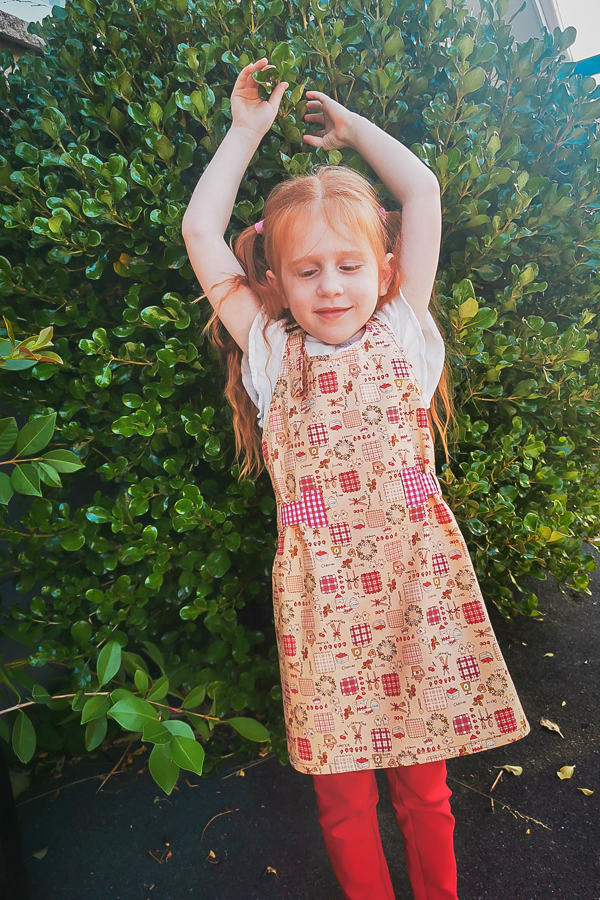
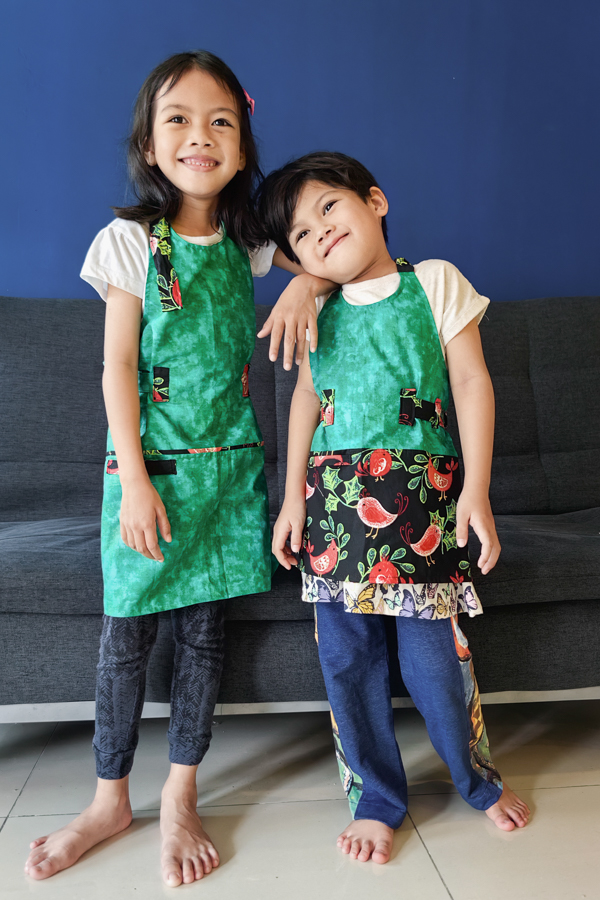
For the kids, testers found that the length of the full apron would get too short if you base size selection on waist alone. Tall, skinny kids end up with super short aprons. Choosing based on height alone meant the waist might end up too wide. So really consider what you want for your own apron before cutting. Use those lengthen/shorten lines to adjust if you need and please note that this pattern is designed to have some gathering between the belt loops so don’t be afraid of having a little extra fabric around the waist. Too much, well, it might just be that – too much.

For the miss apron, we found that those who have a larger bust size really need to consider adding some length in the bodice. An FBA, if you will. The final measurements chart will help with this decision as well. For example: If someone is taller than the 5’5″ draft height and has a larger bust size, they will find that the neckline will sit too low and they will lose the nice bib coverage that Poppy has. Not to mention the straps then have to reach further and you might end up with not enough strap length.
So have a proper look at that size page in the tutorial before cutting so this apron has the best chance at being worn well and often.
POCKETS
Though the Poppy boasts one pocket as a pattern idea, there is the option to have one pocket on each side. Some of our testers chose to keep both and have said that they’re really happy with the extra one. You get to make that choice when you start sewing.
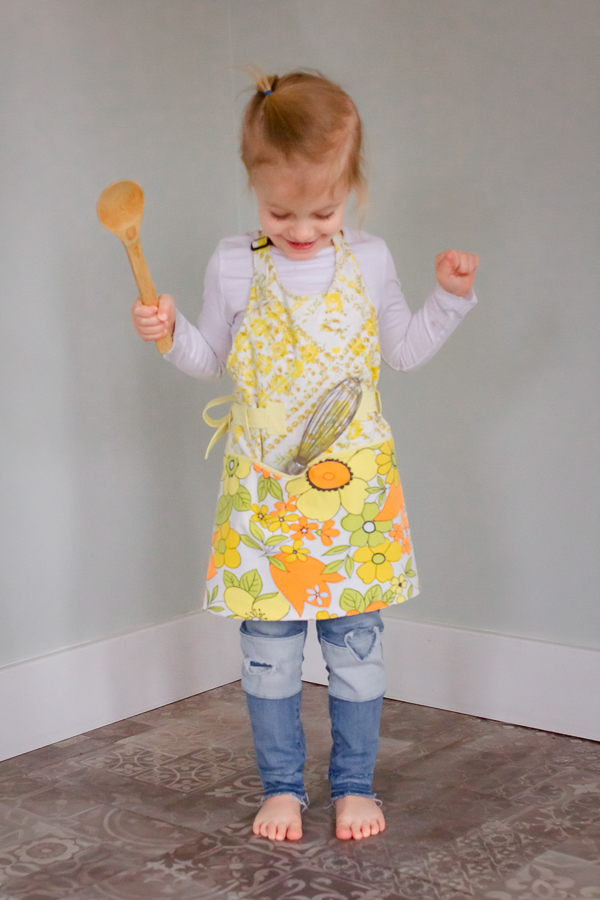
As I noted in the pattern details above, there’s a difference between the kids’ pocket and the miss. Though I went with my friend’s comment about a cell phone pocket on the side, the kids don’t need a cell phone pocket. So their pockets are a bit wider for other uses and it’s shifted to the front of the apron.

Now, there are many cell phone sizes in the world. The Poppy cell phone pocket is drafted to fit my own iPhone with the top sticking out of the pocket about an inch so I can easily grab it. But if you have a shorter, wider, taller, thicker type phone OR if you want to use the pocket for something else altogether, use the info on the pattern piece to adjust the pattern piece before cutting.
D-RINGS AND SLIDERS
My original design had only the crossed strap option. Then I went to put it on and realized that not everyone was going to like that method and it might not even be accessible for everyone so I went to work on some ideas for a second strap option. This brought me back to the halter idea which I had initially said no to. I saw SO many halter style aprons in my research and wanted this to be different! But it needed to happen so I caved in. Two strap options now means 2 different hardware needs depending on which straps you choose.

The crossed back uses D-rings. Four, to be exact. I don’t have loads to say about these except that I’m going to highly recommend you don’t use D-rings that are bigger than the tutorial recommends. I recently had a visit with my mom who VERY clearly told me how much she hates her D-ring adjustable apron she purchased from a store in town. I was a little shocked by the amount of passion with which she spoke against this apron until she brought it over to me to show me the disastrous purchase. SOMEONE out there, got real lazy and decided to cheap out on the aprons they made to sell in a pretty high end store in town. Things aren’t cheap in that store!! It appears that instead of considering the quality of their work, they must’ve found a deal on bulk D-rings and figured they would just use those and who cares if they’re the right size. All that loose space in those D-rings mean the fabric is free to twist and curl and fold and those rings can flip and twist like it’s a circus show on your back. This is a sure way to end up with an apron you’re not going to wear because it’s just too frustrating to deal with.
For this apron, we’re suggesting D-rings that are 1/4″ more narrow than the strap itself and if you are using thicker fabrics outside of our recommended fabrics, consider using D-rings that match the width of the strap. It’s a good idea to test before attaching.
The halter strap needed something different so for this we have a slider. This is another scenario where you want the right size for your apron. Too big and that strap is not going to hold and will just slip right on out. I went and bought a collection of sliders and tested them out on both the smallest straps (our sizes XXS and XS have a 3/4″ strap) and the bigger ones (all the other sizes have a 1″ strap).
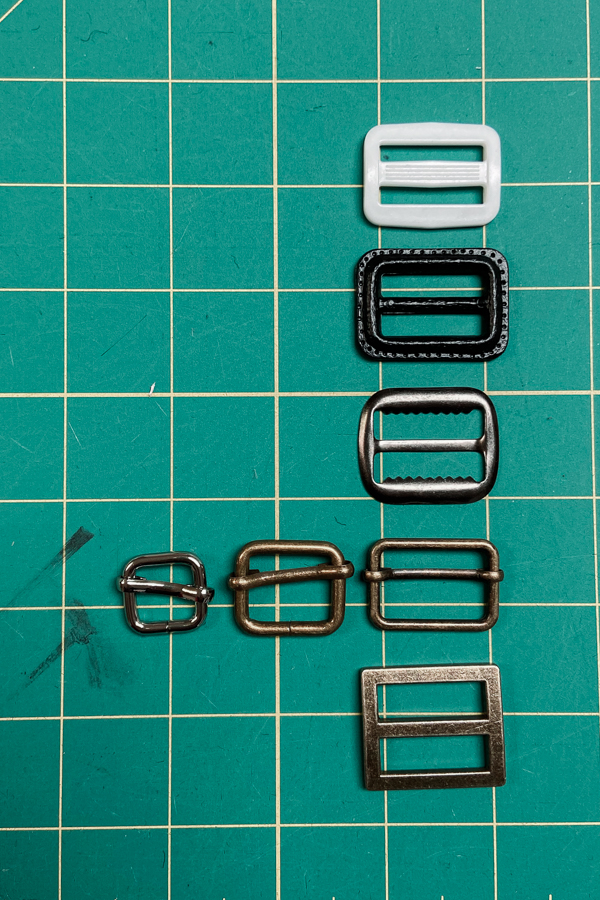
Here’s what I found:
The top one is a plastic slider. This one worked the best. The thicker post in the middle kept the 2 horizontal spaces small which help to grab and hold the fabric tight in the slider. It was especially great for the smallest sizes. I don’t like using hardware that is wider than the straps, but the 1″ slider actually held the 3/4″ straps just as nicely as the 1″ straps. It just had open space on the sides that isn’t visually appealing.
The black one is also plastic and grabbed the fabric nicely as well – even though the post in the middle isn’t as thick. Plastic just isn’t as “slippy” as the metals and has some texture molded right into the slider which makes it a suitable choice for hold. Some of our testers noted that they prefer plastic against their neck so it’s good to know there are some easily accessible options for the sliders in plastic. And in both sizes.
The third one is into the metal options. This one has teeth so, yup, you guessed it, those teeth helped hold the fabric. It’s probably my least favourite visually, but it worked sufficiently and was easily found in both 3/4″ and 1″ sizes.
The set of three is next. I love metal sliders. Metal hardware, in general. It was important this one work for my own tastes. This slider has the most gape in the horizontal spaces which means the size of the slider is super important and the fabric you are using for the apron could play a part in how well it holds. I didn’t love this for quilting cottons and the 1″ slider did NOT hold the smaller 3/4″ straps. At all. They aren’t very thick and the quilting cotton slips too easily against the metal. I can imagine that much bending and movement will gradually pull the straps out during wear. But for my soft linen, it worked and it holds. The slide is easy when I need to adjust and it doesn’t come loose till I want it to.
Finally, the squared slider was another one that did work on the adult straps I tried. I really like this one visually.
In this picture you can see I have 3 options I tried for the small 3/4″ wide straps.
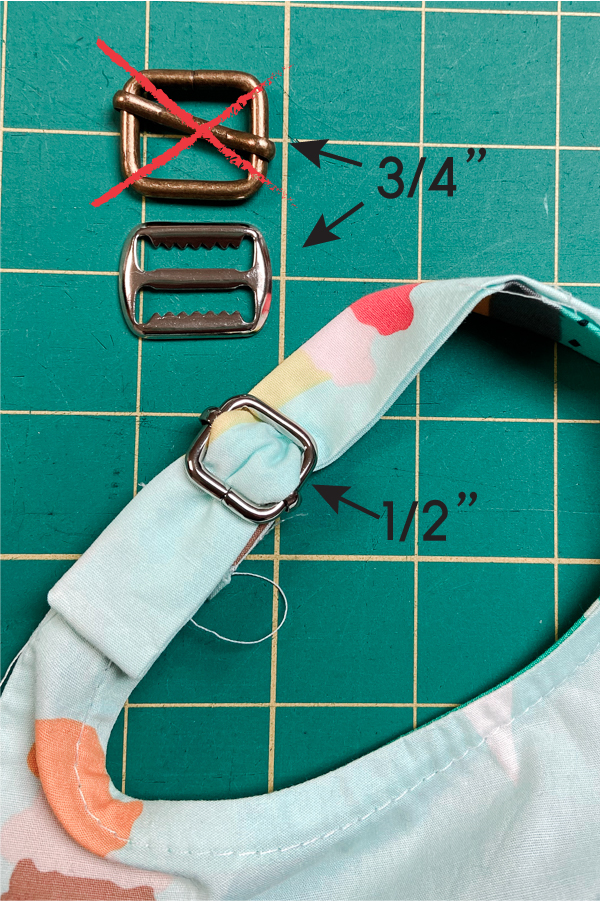
The 3/4″ metal slider at the top did not hold the 3/4″ quilting cotton straps. Not an option. The second one with the teeth did hold. The 1/2″ version of the top metal slider DID work well.
Here’s a video on a way to keep those halter straps from coming out.
No matter what, I’m going to suggest you test out what you have before attaching since fabrics can really behave differently.
BELT LOOPS IN THICK FABRIC
On one of my muslin aprons I decided to use some faux leather for the belt loops. The tutorial instructions made for some pretty thick belt loops in that thick fabric, so I made those belt loops using this alternative method.
Use this for all your thick fabric choices like corduroy or denim and the like.

- Cut the fabric at 1 1/4″ width. Fold and press into thirds lengthwise.
- Serge or finish one long edge to keep it from fraying, if the fabric is the fraying type.
- Fold the finished edge over to the back covering the other raw edge. The finished edge should sit JUST inside of the folded edge and not visible from the front. If it is, refold and press the fabric so it won’t be.
- Topstitch 2 long rows of stitching down both edges of the belt loop piece.
Now the piece is only 3 layers thick instead of 4. So go ahead and continue with the tutorial steps to complete the belt loops.
The final thing I have for you today is a special shout-out to Raspberry Creek Fabrics who collaborated with us for this release to show-off some of their waffle towels nicely paired with our Poppy apron towel loop. For the rest of the month of February use the code SOFIONA and get 25% off the towels at RCF.
There we have it. More info than I ever thought would be necessary about a simple apron pattern, but it was all important enough to our tester experience to make me add it here. Huge round of applause to the testers for this pattern. They patiently waited for me to make some significant changes and their feedback – as always – made for some really good additions to this pattern.
Be sure to give them some love when you see them posting and don’t be shy about sharing your own apron make!! We honestly, truly want to see your Sofiona makes. Share them in our Sofiona Sewing Group and or tag us on IG. And have yourself a wonderful day!!