After a LOOOOOOOONG drafting and testing period – a year, to be exact – and then an accidental wiping of my computer which caused a partial loss of files, I finally have a new pattern ready for you to sew up. And, man, I really hope you enjoy this pattern and make it multiple times! 😄 Let’s talk about it!

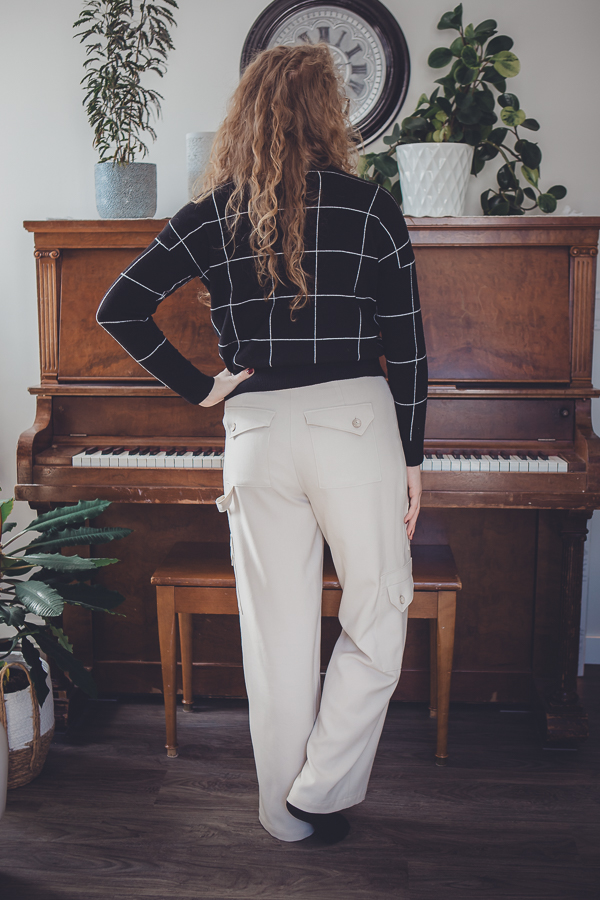
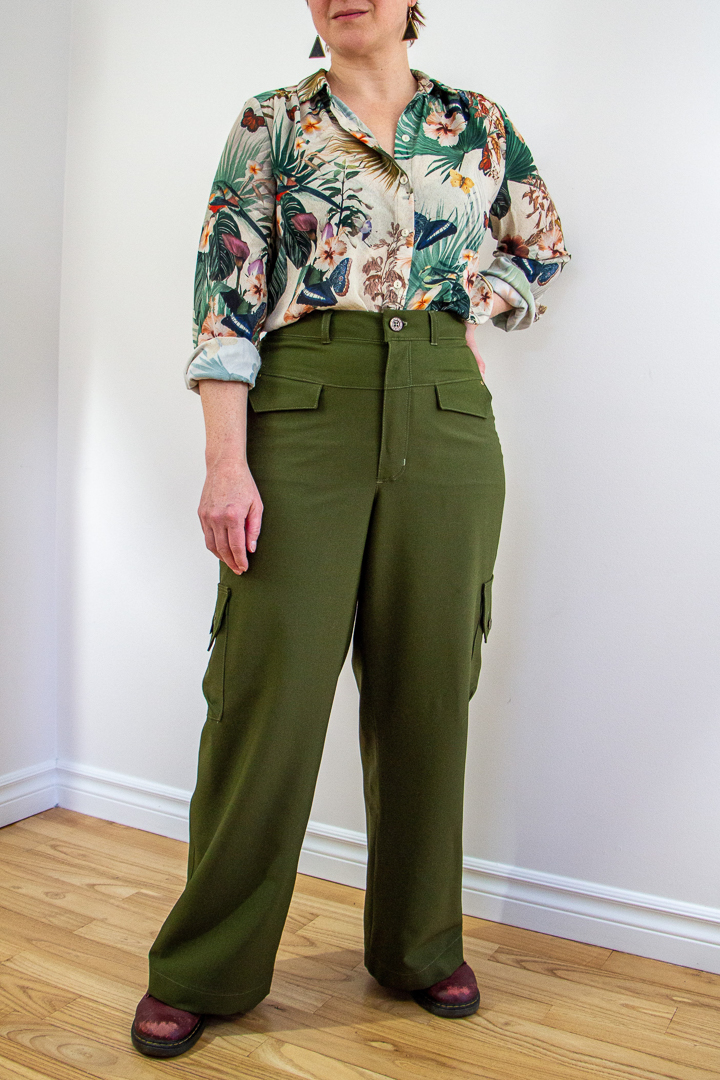
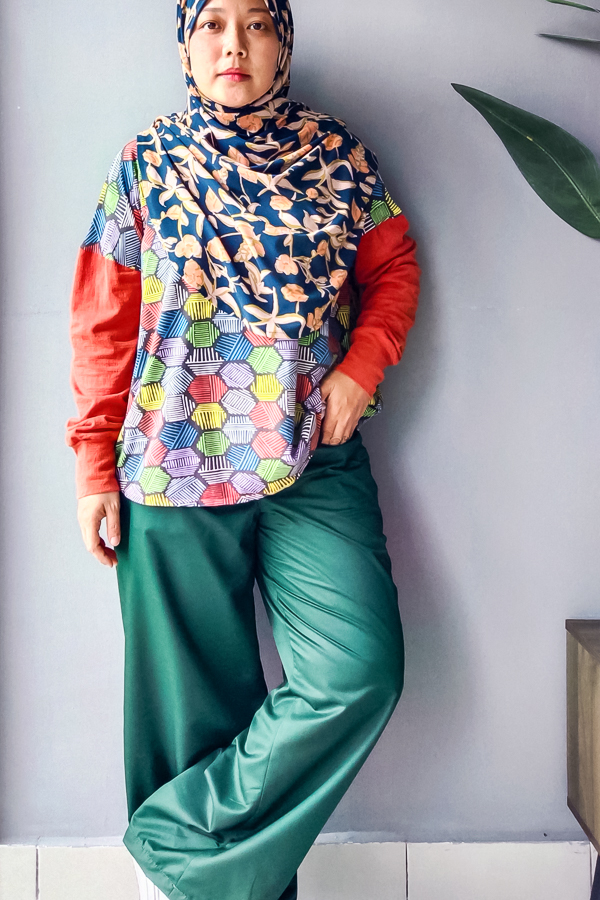
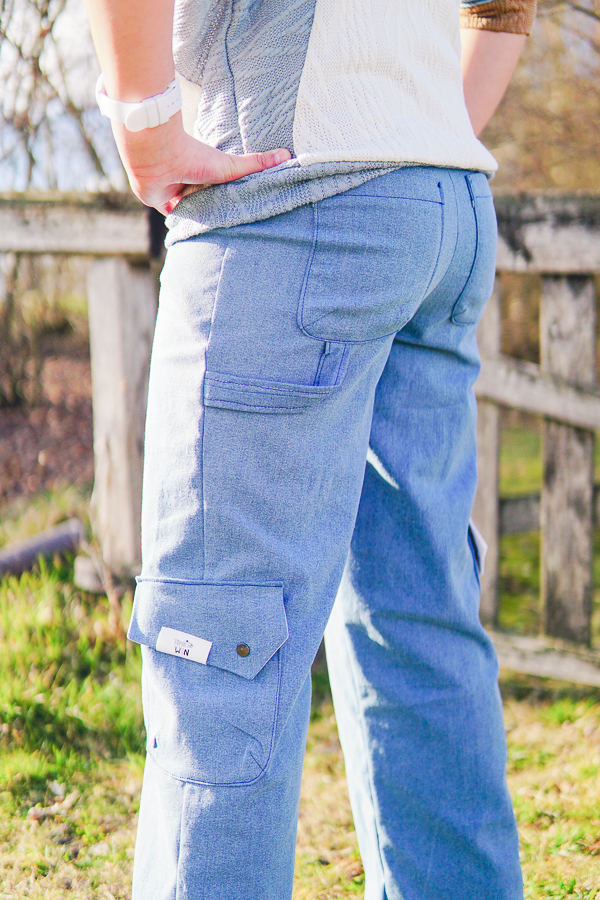
The Miss Nickel is a cargo pant pattern with a unique front yoke and a HUGE variety of pocket styles in the form of the Cargo Pocket Add-on which is sold separately. This pant pattern is actually what could be called a “spin-off” of an original pant idea that became 2 separate patterns. You’ll have to wait to see the other one though. Here’s the basics:
- medium-high rise
- fitted waist and hip going out to a wide leg
- full pant length
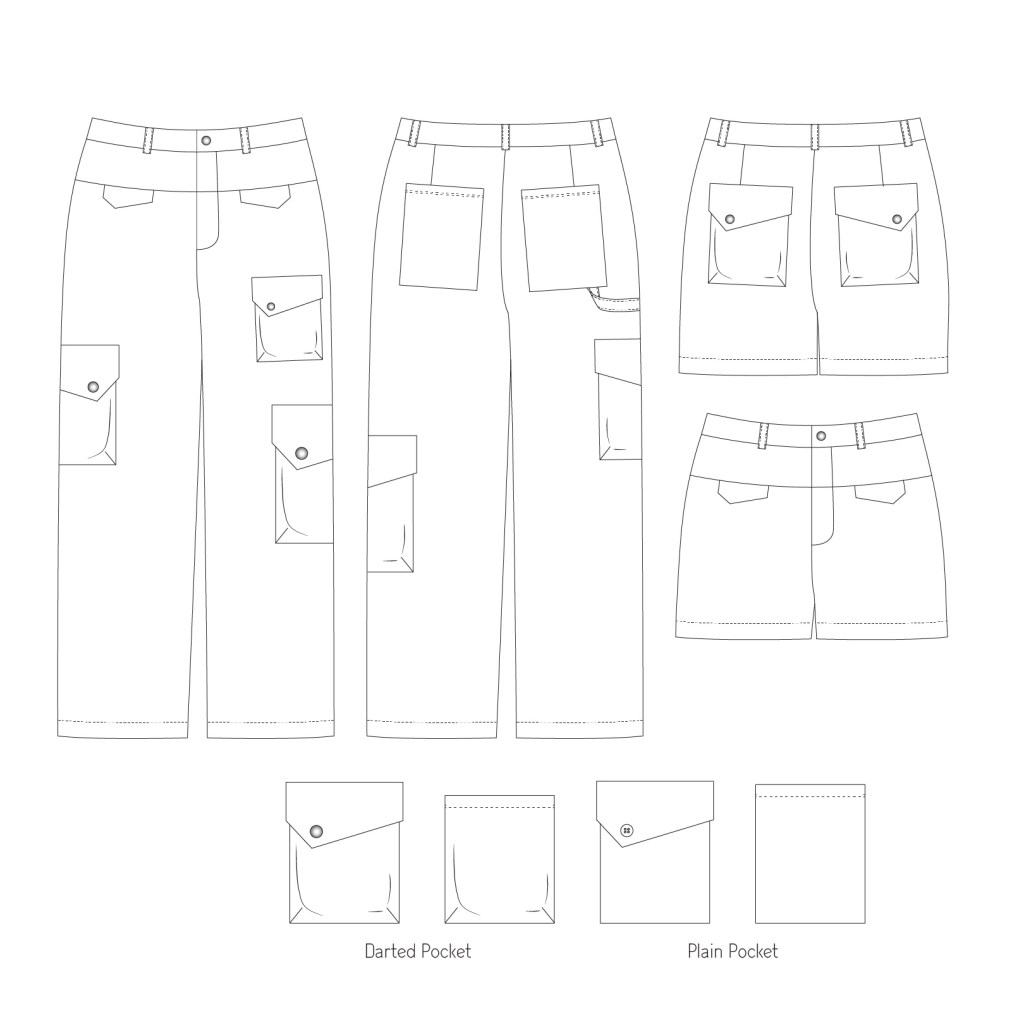
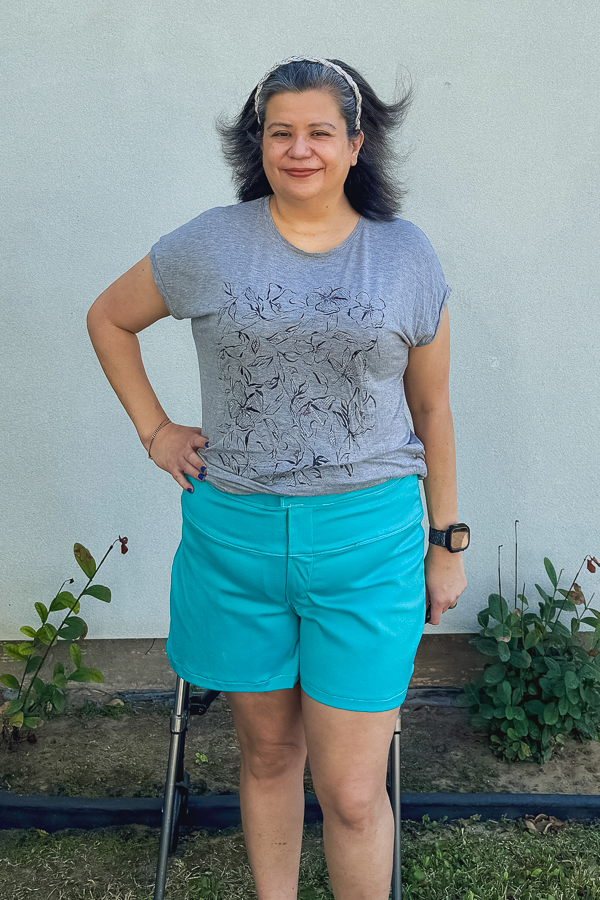
- shorts with 2 inseam lengths
- 2 pocket bag styles – darted and simple
- angled pocket flaps
- Optional belt loops in 2 widths – chunky and narrow
- Optional hammer loop
Now there’s something special about this pattern. This is our first pattern that includes new sizes in a much desired range!! We’ve heard you loud and clear over the years and we weren’t ignoring you, I promise. It’s been a journey for us to get here and, to be honest, I wanted to be here 2 yrs ago, but “life” – whatever that all means – put a pause on it. But here we are now, feeling excited to present this pattern to you all. We had some amazing testers join us for this test who were not only fun to work with, but a great help with all my questions as I do my best to create a good pattern for everyone.
Fitting
This topic was our biggest takeaway from this test. I have a lot to say about it and I’m going to move most of this conversation into a separate blog post or this is going to get too long. But I’m going to recommend that you have a read of that post as well. Be warned, if you only read X style commentary, this is not that. I do long form. Is This Pattern Badly Drafted? is the name of that post.
Working with this pattern taught me fresh about how misguided we can be about sewing for ourselves. There’s an overwhelming expectation in the sewing world that when we look for patterns we must find the ones that are made specifically for our body types and then we won’t have to worry about fitting issues. It’s just not a reasonable expectation and I feel like we can help each other conquer sewing frustrations if we can have the conversation about the realities of sewing for ourselves. So go have a look at my other post for more about that, but continue here for the specifics for Miss Nickel.
Pants often scare people. Or I should say “making” pants scares people. 😉 There’s a lot of things to consider so having some great resources is SO HELPFUL when going through this process. One amazing resource that was shared with this tester group was by a sweet YouTuber named Karina from Lifting Pins and Needles. She’s allowed me to share her pant making mini series here for you. You’ll find lots of helpful information in this series.
Here’s just a couple more resources that I really love.
- J Stern Designs on YouTube – She had a great video on prominent inner thigh adjustments that a few of us used.
- The Pant Fitting Adjustments blog post by Closet Core is a personal favourite of mine that I have opened countless times now.
- The similar Common Trouser Fitting Adjustments blog post by Tilly and the Buttons.
- The Designer Stitch website tutorial section has a collection of fitting tutorial that are written for the patterns sold on that site, but it’s still sewing knowledge that applies to other garments.
Crotch Length
Yes, I just made “crotch length” a title. I’ve talked about crotch curves and crotch lengths so much over the last month or so that I’m surprised it doesn’t accidentally come up in my conversations in the grocery store. But this was seriously a big deal so I really want you to hear about it.
The crotch length is one measurement that I know is taken for granted in our personal sewing and yet made a HUGE difference for almost all the testers. The Miss Nickel is meant to sit about 2″ below natural waist and when that part of the body wasn’t carefully considered and measured, we had a lot of “hungry bum” scenarios. You know what those are, right? When the back crotch curve is way too far up those butt cheeks! Almost every time (maybe every time) we found it was because the crotch length measurement was incorrect. In turn, all sorts of unnecessary drag lines were occurring that stopped us from seeing what regular adjustments we needed to make. Once we got the rise correct, we could move forward and properly diagnose other fitting areas for each individual.
Because this was a pretty big deal during this test, I’ve added a number of pages in the tutorial about taking correct crotch length measurements and how to adjust the pattern rise accordingly. Read it carefully a few times and save yourself the extra muslin fabric in getting that part right the first time.
Keep in mind that not everyone considers natural waist location the same and this MUST be correct or the whole crotch length measurement can be way off. Some people think belly button height, some people think “where I like to wear my pants”, and in our case, we mean the smallest part of waist or where the body “breaks” when you bend to the side. This is important to know before you start.

The Cargo Pocket Add-on
Pockets are a big deal on this pattern!! Somewhere along the way I couldn’t decide which kind of pocket I wanted to put on these, so I went with all the kinds!! The main pattern includes 2 pocket styles and then there’s also the Cargo Pocket Add-on (purchased separately) that includes a bunch more. I haven’t actually counted every pocket variation, but I know there’s over 25.

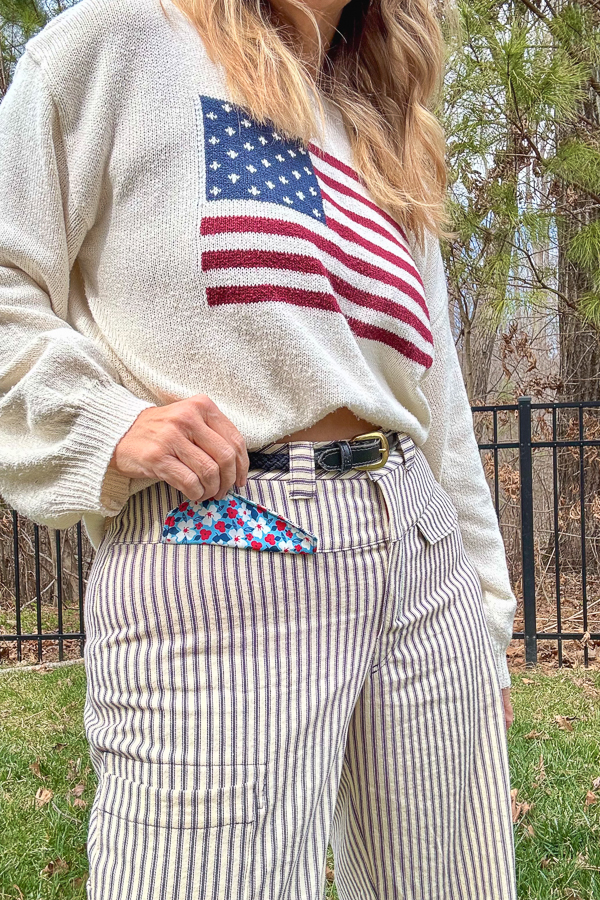
One of the ways we loved to jazz up our pants for this test was to use pretty lining fabric for our pocket flaps, waistband linings and the pocket bags inside the pants. In true Sofiona form, why should only the outside of the garment look nice?? It’s like your little secret that just makes your pants better.
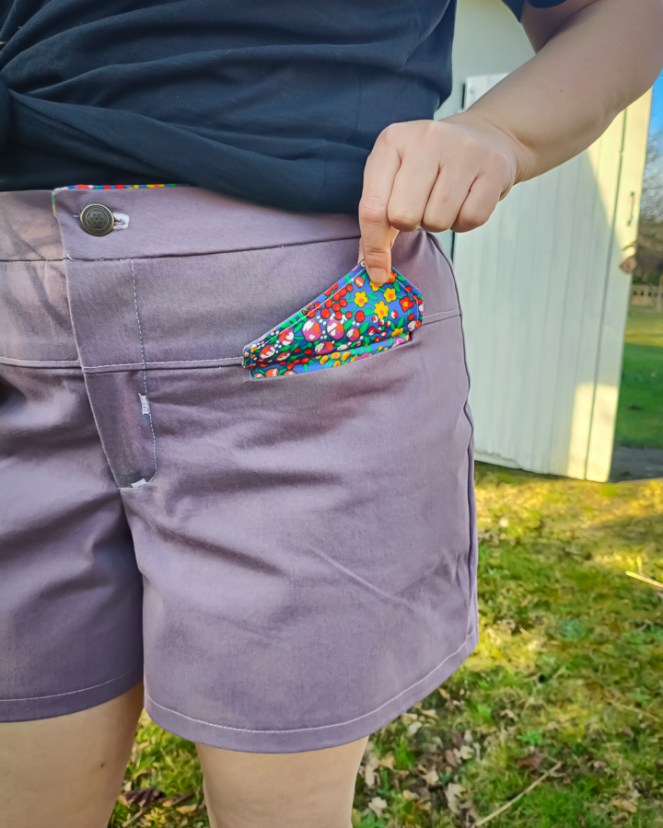
If you don’t feel like you need those pockets on the front, go ahead and make them faux pockets. You still get to use the pretty lining fabric, but skip the pocket bags and just sew the flap into the seam. This method is not included in the tutorial, but is easy to figure out.
Another option is to skip the front pockets altogether.
A few testers added tags on their pockets for further personalizations. And, of course, don’t forget the hammer loop for a true pair of cargos!
Alternate Bias Corner Method
In the tutorial there is a simple, “turn the edges over” hemming method for the squared corner pockets. However, some of us like being a bit extra and so I’m including here a bias corner sewing method that I used for the sleeve pocket on our Clover sweater and Rose Hip jacket.

In the tutorial, follow the instructions to baste the edges of the pocket using the correct seam allowance. Once the basted lines are there to ensure the correct seam allowance won’t be lost, you can serge or finish the raw edges of the pocket bag as you like. Some fabrics need proper finishing on those edges and I like trimming a bit of fabric off.
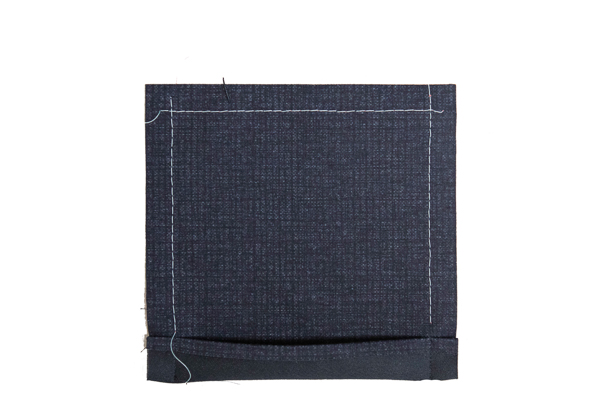
Depending on the pocket, there will be 2 or 4 corners that can be made with the bias method. On these corners, fold the pocket bag RST so the raw edges are matched and the “X” from the intersecting baste lines is directly on the fold.

Starting on the folded edge and exactly on the “X”, sew a line perpendicular to the folded edge.
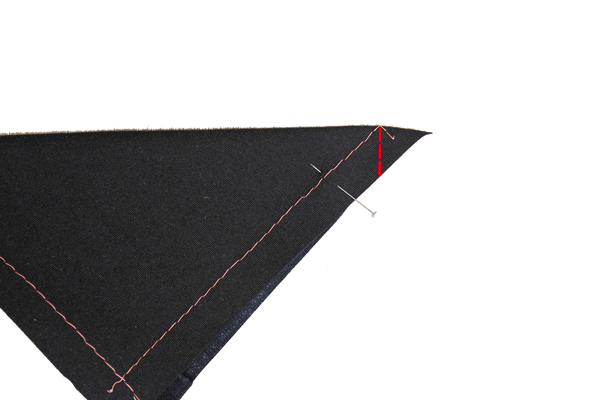
Trim the point of the seam allowance off a bit.
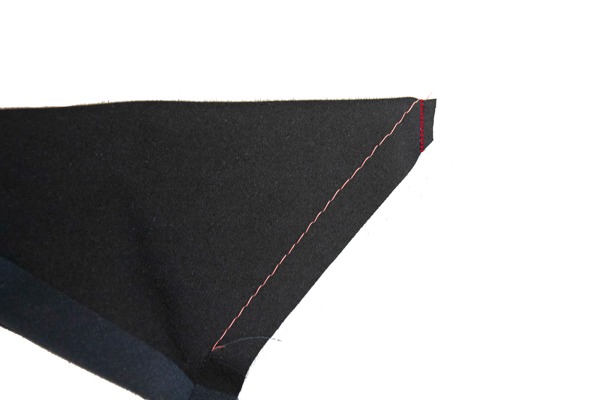
Carefully press the seam allowance open with the tip of an iron.

Turn the corner right side out. Press the corners and the sides of the pocket along the basted stitch lines. You now have a beautiful pocket with neat bias sewn corners.
At this point you can remove the basted stitches and continue to apply the pockets to the pants using the instructions in the tutorial.
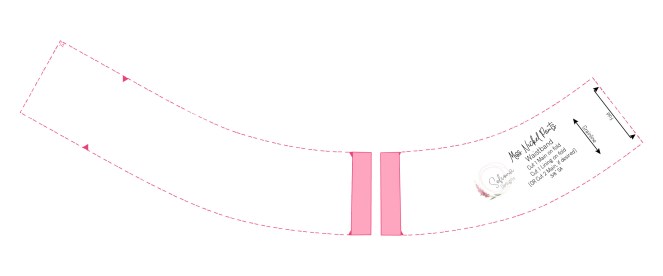
3-pc Waistband
The waistband for these pants is all one piece, however, in some cases, you might need to use scraps or perhaps you want the ability to make fit changes that are easier to make with side seams in the waistband.
Cut across the pattern pieces at the side seam notches, add the 5/8″ SA and use the new pieces to create a 3-pc waistband. Don’t forget the fold still is a fold for that back piece and you’ll be cutting 2 mirrored pieces for the front of the waistband.
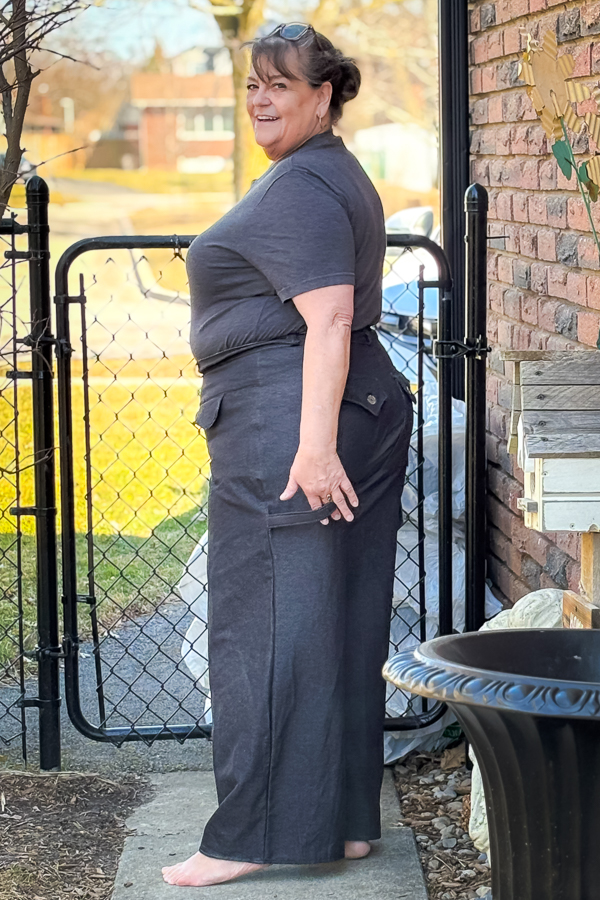
A massive thank you to all our testers in this one. We took this seriously. I mean, we ALWAYS take our tests seriously, but we slowed this one down so we could all learn to make and fit these pants together. We had a large group of new Sofiona testers for this and, boy, what gems did we find! Such a great group that gave great feedback and helped me make what I hope were the best decisions for this pattern. Please give them some love when you see their pictures.
I’ll leave you with a few more pics as I say have yourself a great day. And PLEASE show us YOUR Nickel pants!! Use #sofionadesigns #sofimissnickel and tag us on IG or show up in our Sofiona Sewing Group on FB.