
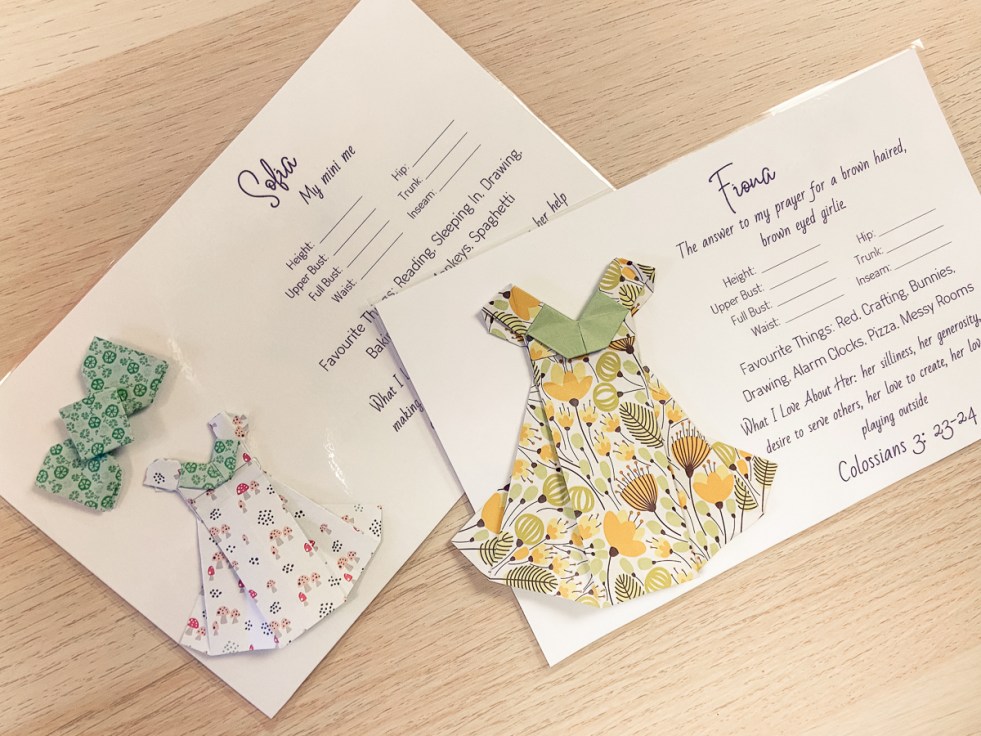
These last few weeks while we have been dealing with what I like to call “World Crazy”, I’ve been working on a big project. Which led me to a little project. I’ll share the big project at the end of this for those that might like a peek into my workspace, but I really wanted to share this smaller project with you. A re-usable card to keep track of my girls’ ever changing measurements.
This isn’t a full tutorial with step by step instructions, but more of an idea that you might like to try out and put your own twist on. I’ve included some links to free tutorials throughout this post since my project included a book I bought for my daughter and I know there are some free tutorials that you can use instead. They will be listed further down.
What I used:
- I used Adobe Illustrator to create the card layout, but this can be done on any typical document programs.
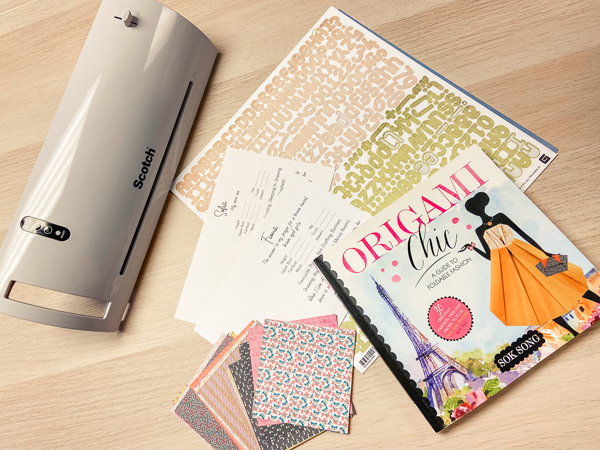
- laminator – I have this Scotch laminator, but here’s a link to an amazing Youtube video on 5 cheap ways to laminate from home.
- 8 1/2 x 11″ cardstock to fit into a home printer
- origami book (I’ve got some free links for you below on some other options.)
- origami papers
- hot glue gun
- ultra fine tipped dry-erase marker (See why this might be important further on.)
- I pulled out some sticker letters in case I wanted to add their names with that, but ended up just printing them. Stickers would have been another way to add some fun to the cards.
The first thing I needed to do was create some sort of template for the cards. Originally, I was thinking really simple. Height, chest, waist, etc. and their names on the top. Then I was going to throw some Sofiona style clipart on the side to make it pretty. But I also realized that this was a perfect opportunity for me to focus in on my girls themselves. To consider their personalities and list things I appreciate about them. All of a sudden this became more than a pretty decoration and was an exercise in focusing on what is good, lovely, admirable and praiseworthy and I think we can all agree that if World Crazy has taught us anything, it’s the importance of focusing on the right things in our lives. Now I have a regular reminder of my girls’ strengths, qualities and quirks.
I chose to list their favourite things and just a bit of what I love about them each, but I’m sure you might have some other ideas as well to personalize for your family members. I also chose to include the measurements that I use most often. This might be different for you depending on what kinds of things you like to sew the most.
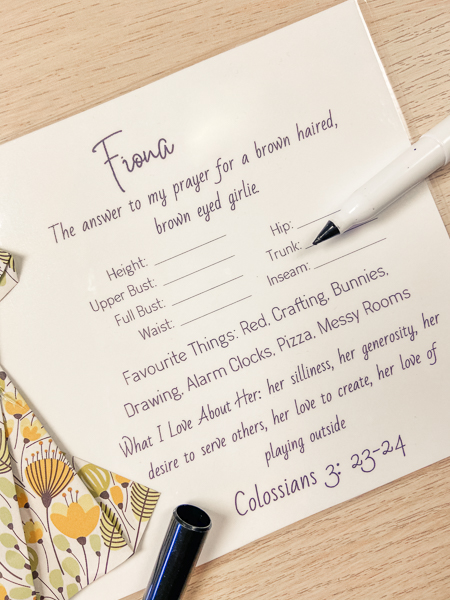
Now, I will caution you here to make sure that your lines to fill out are appropriate for the tip size of your marker. I tried writing on here with a regular dry erase marker and it was a large fail. I would’ve needed much bigger spaces. Thankfully, I had one ultra fine dry erase marker on hand and it works beautifully. (I did panic for a good minute before I found it.)
Once I played around with the template a bit and had it the way I wanted, I printed it out on cardstock and pulled out the laminator. This is a gadget I have had for literally years and had yet to open and try out. We all have those, right? I bought it about 6 yrs ago when I started homeschooling and thought for sure I would need it for all my flashcards and things. Turns out I don’t homeschool that way and this little machine was just sitting there waiting for this moment. I gotta say, it was handy and quick! I should use this more often.
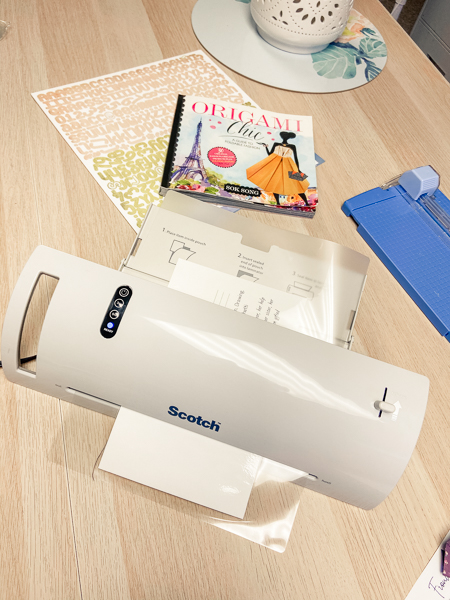
I left the freshly laminated cards under some heavy books to cool off as flat as possible and went on to the next step.
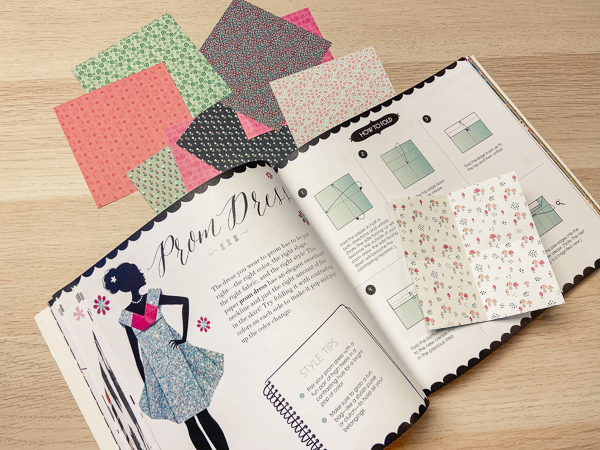
One of my girls is into origami and for Christmas I got her this great book from Chapters. Origami Chic: A Guide to Foldable Fashion. She loves it and loves it more when we all do it with her. Now, I’d love to (and fully intended to) show you pics of how we gathered around the kitchen table in a real heartwarming fashion to craft together. But truth is, when I went upstairs to work on the origami, they were playing with some friends on-line and, well, I like crafting alone and they don’t get to see their friends for real these days so I let them spend more than normal amount of time chatting with friends on Messenger for Kids. Instead, I spent some time trying out different paper outfits and making lasagna. Everyone had a great Sunday afternoon doing what they wanted AND we had an awesome supper. LOL
Now, for those of you who don’t have origami books lying around the house, I took a the liberty of compiling a short list of options for you here. These are super cute, free clothing origami tutorials I found on Pinterest. You can find loads more, but here’s a good start.
- Origami Dress by Craft Passion
- Origami Blouse and Skirt YouTube video by Surala World (this one has a lot more too!)
- Origami Coat YouTube video by Colors Paper
- Origami Rugby Shirt YouTube video by Happy Puppy Truffles (This one includes a free printable.)
- Or try something different like this Lotus by Origami Tutorials
- Or some Origami hearts like these from Radiant Home Studio. The options are many!
Once I had a few shapes that I liked, I hot glued them to secure and flatten a bit and then glued them onto my cards. All that was left was filling them out! That was it. Make card. Make origami shape. Glue together. Done.
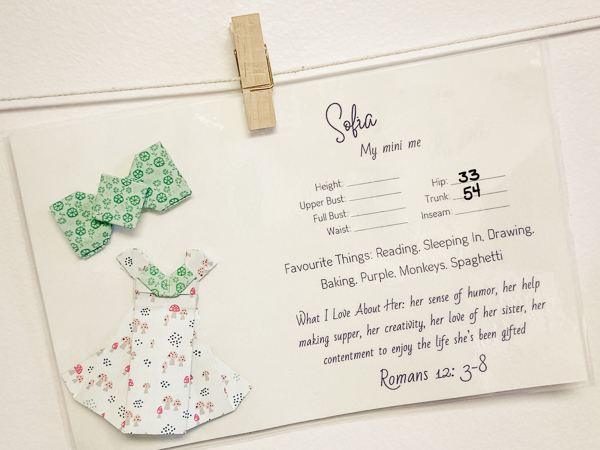
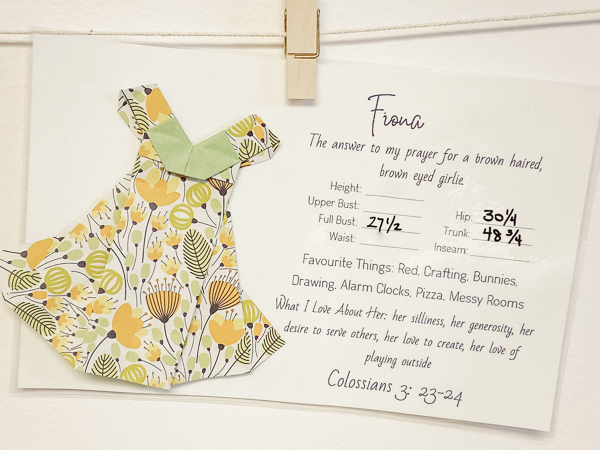
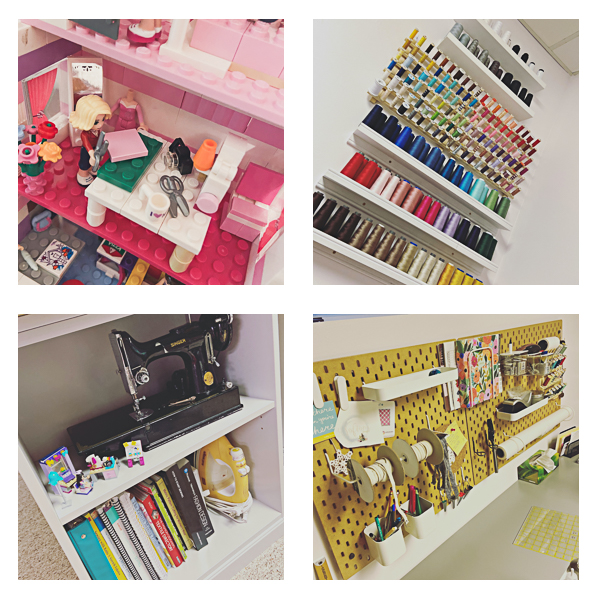
I have these cards clipped onto a string in my sewing room. It’s front and centre where I work so it’ll be a quick glance when I’m working on their clothes and, dang it, they DO look pretty cute on the wall.

Now, are you interested in the big project?
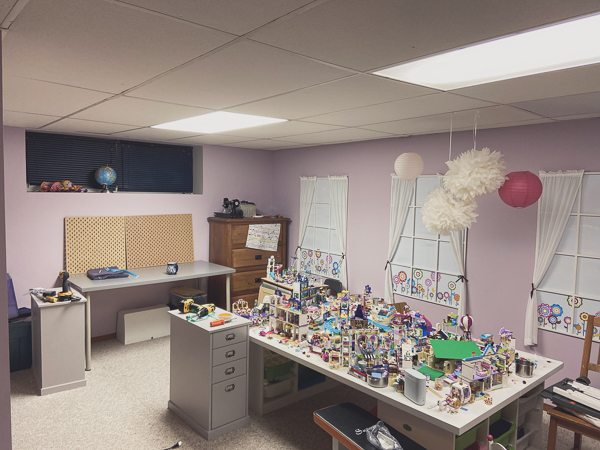
My husband walked into my teensy sewing space a while back and said, “It’s getting kind of cramped in here. Have you ever thought of changing spaces with the girls’ playroom?” 😮 It is at this point that one exercises extreme self-control as to not appear too excited. On the outside I hoped my face was reading, “What ‘evs”, but on the inside it was all, “Darn tootin’ I have! I just never let myself think it was a possibility!!!”
We called the girls over to see what they thought. They were a touch hesitant, but when they realized it meant a door to their Lego room, they were all good. My girls love doors. So it turns out this whole idea IS a possibility! I was floored (still am). But I was also on the Ikea website within minutes and my measuring tape was out in full force taking measurements of every nook and cranny in that beautiful big space.
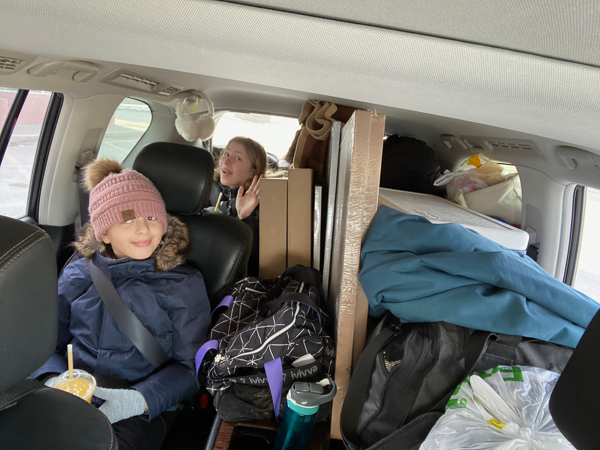
The timing for this idea couldn’t have been better. World Crazy was just hitting Canada and chatter was starting about shutting down major events and spaces. We had bought the girls concert tickets for Christmas and we were so excited for it but it was cancelled the day we planned to drive south. Unfortunately, my mom ended up in the ER that same day so we decided we still needed to drive south despite World Crazy. She’s totally fine now and I’m very glad we were able to be with her as she came out of a day surgery and were able to help her out so she could rest and recover a few days. And I’m also glad that we hit Ikea before it closed.

The following week (plus more) after getting back home I was busy! It was furniture building, furniture moving, and lots of staring at the space trying to decide what should go where. I spent about 5 days in the same paint clothes as I ended up painting the playroom too. That wasn’t going to happen for awhile, but things change when you happen to be driving by a Home Depot and you know you won’t see one again for months. And it’s just one can, right?

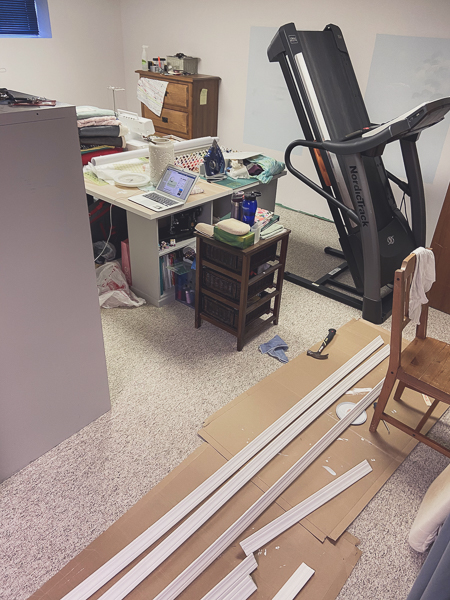


The last job was a projector setup. Now, full disclosure – I had (have?) my heels dug in pretty hard regarding the new projector craze. I’m so skeptical on the accuracy and as a designer I’ve taken some courses that talk about the importance of a 1/32″ increment. If a 1/32″ is so important, then how can I trust the image projected onto my table? I’m still a bit hesitant, but I also recognize the immense time saver it could be so I’m setting aside a bit of my stubbornness and willing to give it a go. My husband found a phenomenal deal on an Asus P3B and I won’t go into details on it here, but it appears like it’s going to be a good option for me that will potentially save me HOURS as I work on new patterns. So far I’ve only used it once and I think I’ll like it when I’m using the right files.
😊The room is not finished, but further renovations are on hold. Alas, we now have to wait for things to change in our world before we can continue. The hope is to eventually put new flooring in and get a door. Both will be amazing, but they certainly aren’t holding this back from already being the best space I never thought I’d have.

Congratulations on your new sewing space! I really love the origami, although I couldn’t do it myself.
LikeLike