

With summer coming I started thinking about camping, brighter sunlight hours and being outdoors. I know I like having a hat on hand (especially for beach days), but often can’t figure out what to do with my hair since I prefer to throw it up in a bun/ponytail when it’s hot out. I started to wonder if visors were cool again……or if I cared because I really wanted one! (Hey, if fanny-packs made a comeback visors can too!) We don’t live anywhere close to retail shopping so of course I decided to just design one and the “Vista Visor” was born.
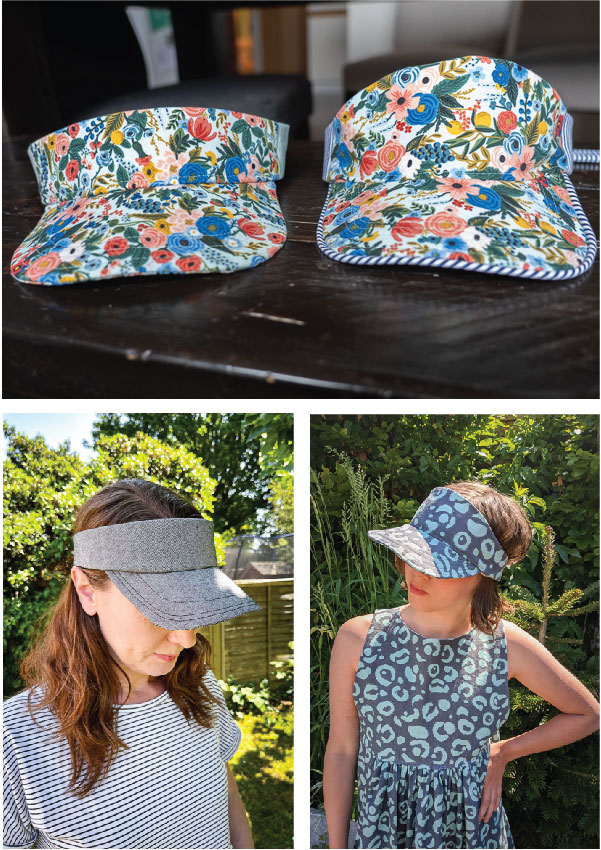
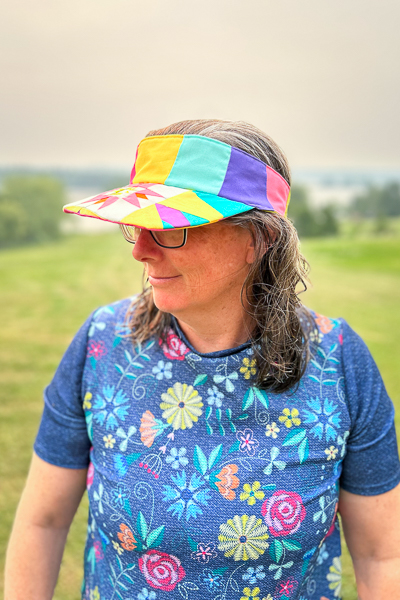
This pattern includes two band height options, regular and tall, in either a solid or pieced band. There is also the option to include piping along the brim edge.

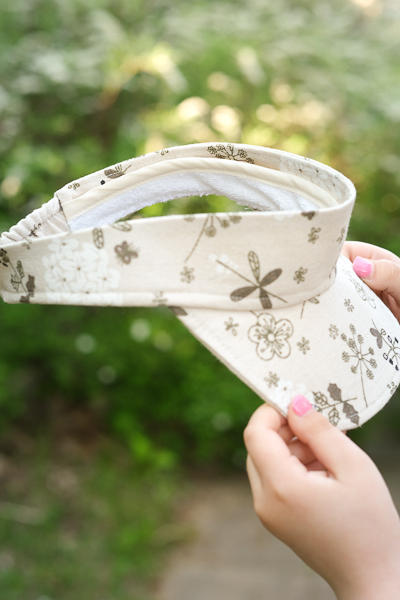
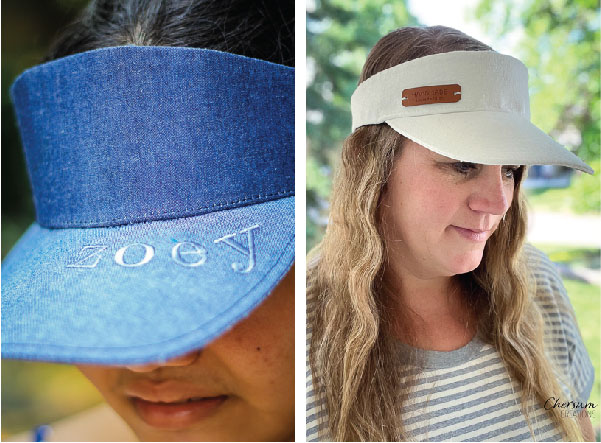
Bottom Left: Karen (regular band height)
Bottom Right: Carol (tall band height)
You can choose between two back options: an elastic casing for a classic look or a tie back for more adjustable sizing. The tie back option offers two bow variations: a narrow bow for a subtle look or a wide bow for a statement style.

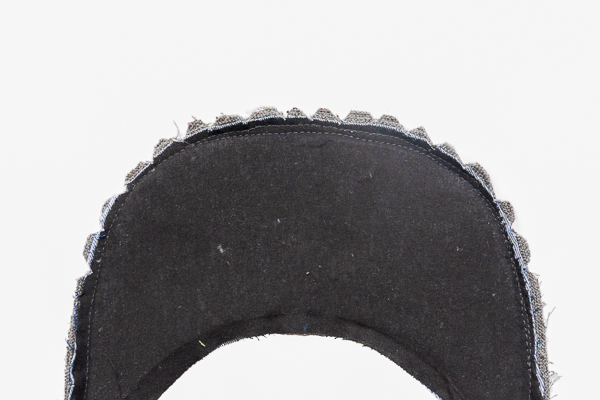
This visor also includes an absorbent/terry cloth inner layer, ensuring maximum comfort during outdoor activities.
Some fabric considerations: Our testers tried a variety of fabric combinations. We found that if choosing a thicker/heavier fabric for the main band/brim it was a good idea to choose something lighter for the lining and absorbent layers.

Too many thick layers make it even harder to sew the brim to the band (the trickiest step of the construction), and leave the visor looking a little bulky rather than clean and crisp. Another good tip when using a heavier fabric and/or adding the optional piping is to grade the seam allowance on the outer brim curve. This means that you will trim each layer of the seam allowance gradually narrower than the previous layer to help reduce the bulk.
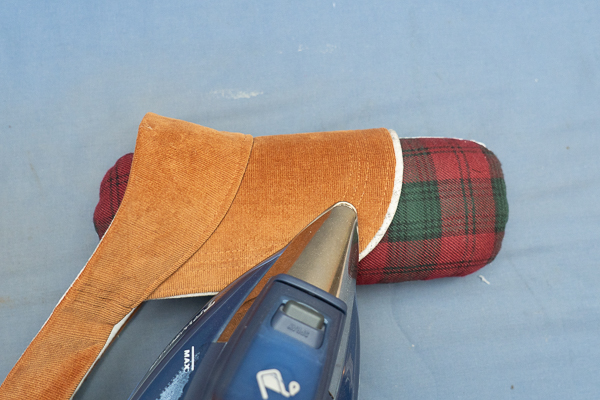
The biggest question we had during testing was what to use for the heavy stabilizer brim lining. The first few sample visors I made used a layer of Pellon Peltex 71. It’s an ultra firm heavyweight stabilizer and is either single or double sided fusible. A few testers told me about “Decovil Heavy” (a new-to-me product, but something those of you who make bags may have heard of). It’s also a great option. One last thing we tried out was a thin plastic layer. You can use template plastic (we found some at our local chain fabric store), or even just a 4L/gallon plastic milk jug. I had plenty of milk jugs on hand, so that’s what I tried. I made one hat with just the plastic (no Peltex), and another with plastic AND Peltex. Both worked, but I personally found the plastic-only brim a little thin.

Once our visors were sewn we saw that the brims sat mostly flat, making the overall hat look quite wide. At that point we realized we’d have to manipulate them a bit to get a typical brim curve. Best results seemed to happen by applying a bit of heat and/or steam to the brim while shaping it around something curved, and then allowing it to cool in that position. Ideas included: pressing around a narrow pressing ham, steaming the brim and wrapping it around a water bottle until cool, gently hand curving/manipulating the brim, etc.
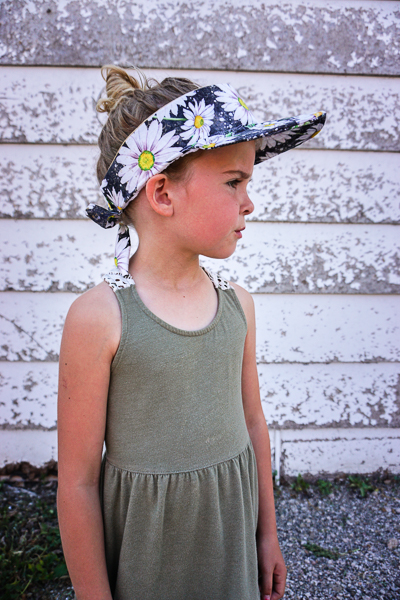
We enjoy the function of this hat, but also feel like it creates the perfect canvas for artistic liberties. Jackie made her brim out of an extra quilt block she had sitting around.
Ruth added some custom embroidery to her brim, and we love this sweet tag Cheryl added to her band.
So what version would YOU make? What details would you add? Who would you make it for??? Your kid? Yourself? Even the little brothers got in on the visor fun for this test! Join our facebook group HERE and check out even more tester makes!


Je cherche un vidéo, car je ne comprends pas tout à fait la partie de la bande absorbante. merci!
LikeLike
Malheureusement, nous n’avons pas de vidéos de nos modèles pour le moment.
LikeLike