

The newly released Lynx pattern is one that’s been on my mind since long before Sofiona Designs became a reality. Almost a year ago I decided to have some fun sewing along with a season of Project Run & Play. This is the (self drafted) outfit I submitted for “Signature Style” week (see anything familiar???):


Once Sofiona Designs became a reality in my life, I knew I wanted to recreate this shirt as a pattern. The high neckline, the cold shoulder, the option for a detailed button cuff. These were all important features for me! It definitely took some tweaking during the testing process, but we love the end result. (You can grab your own copy here.)
And now, without further a-do, here are a few tips and pics from along the way:
One of the first things we realized was that, while designed for wovens, this pattern is best suited to those with some good drape and flow (think rayons, voiles, tencels, etc).

We also realized a few things about the fit along the way. It’s so important that the top yokes hit the child at the right places, or the entire garment can start to look sloppy. The best solution we found for this was to strongly advise that when between sizes (on width), SIZE DOWN! The Lynx has plenty of ease to accommodate this. It also includes a finished measurement chart to compare to if the sizing-down prospect seems scary! Look at the difference it can make though:


After our tester, Axa, made her first muslin we felt we could do better on the fit. By sizing down, rather than up, for her daughter who was between sizes she managed to get a better fit for the sleeves and a bodice that hung in a more flattering way.
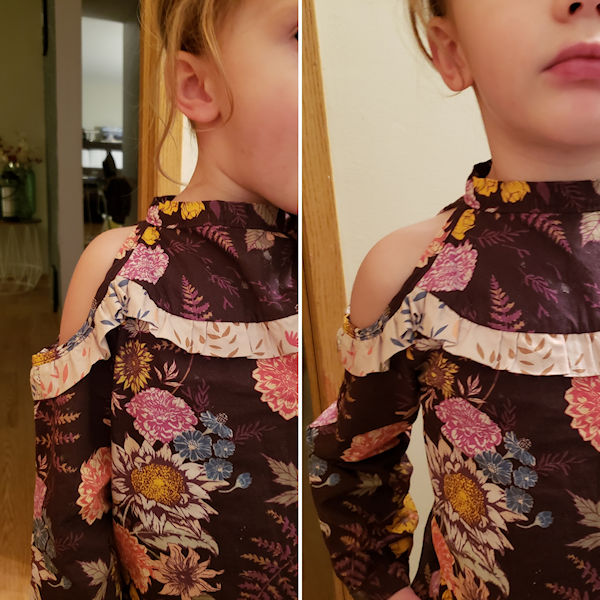
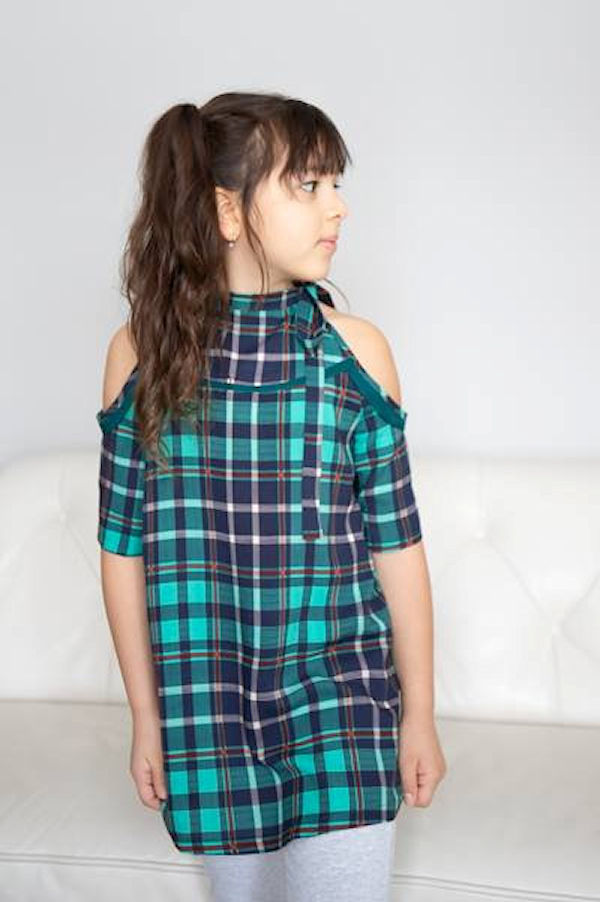
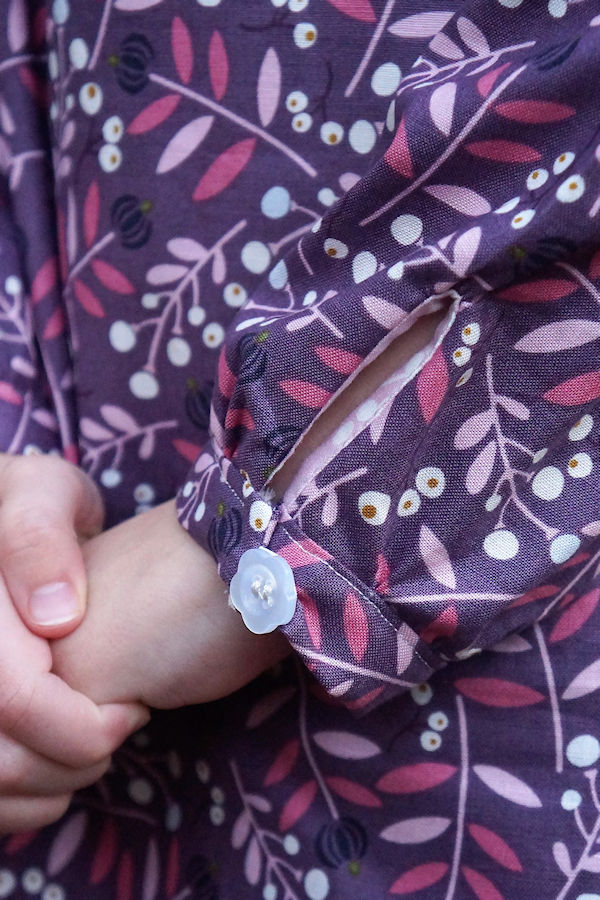
The cold shoulder on this pattern is trimmed in bias binding, to enclose all those raw edges. The thing with bias cut binding is that different fabrics may stretch by different amounts when cut on the bias. Sherri made her Lynx out of this beautiful plaid rayon, but soon found that the bias stretched out so much (just from pressing it) that it became too narrow to sew onto the yoke/sleeve with the expected 3/8″ seam allowance. In the end she used a 1/4″ seam allowance, and it totally worked. You can see, however, that the trim around the arm is more exposed with that smaller seam allowance. Something to keep in mind.

.
In some cases, if the binding has become too narrow to wrap around the seam allowance, you may want to simply trim 1/8″ off the seam allowance thereby creating less bulk to go around.
If you’re concerned about how your binding is going to behave, simply cut a shorter piece and prepare for binding (folding and ironing) as you would and see what happens. You can make adjustments at that point and maybe you will want to add a 1/4″ to your binding strip width.
One final thing we did in tweaking/testing the fit was a simple….well….test! Take a look at the before/after pics below and see if you can guess what was changed for the “afters”.
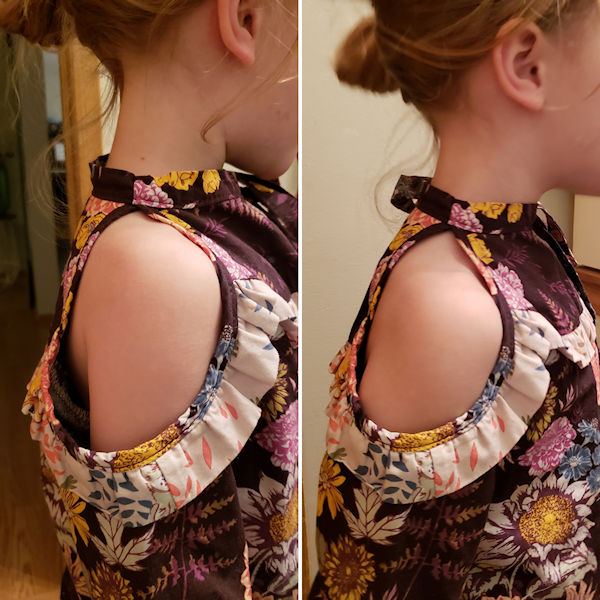

Any guesses!??? This tip is actually a pretty simple fix. The only difference in the “afters” is that we lifted the whole garment up slightly so we could tie the neckband tighter (as it was now sitting on a more narrow part of the neck).
With those tips, we now leave you with a few more pics of some of the beautiful makes from our testers!
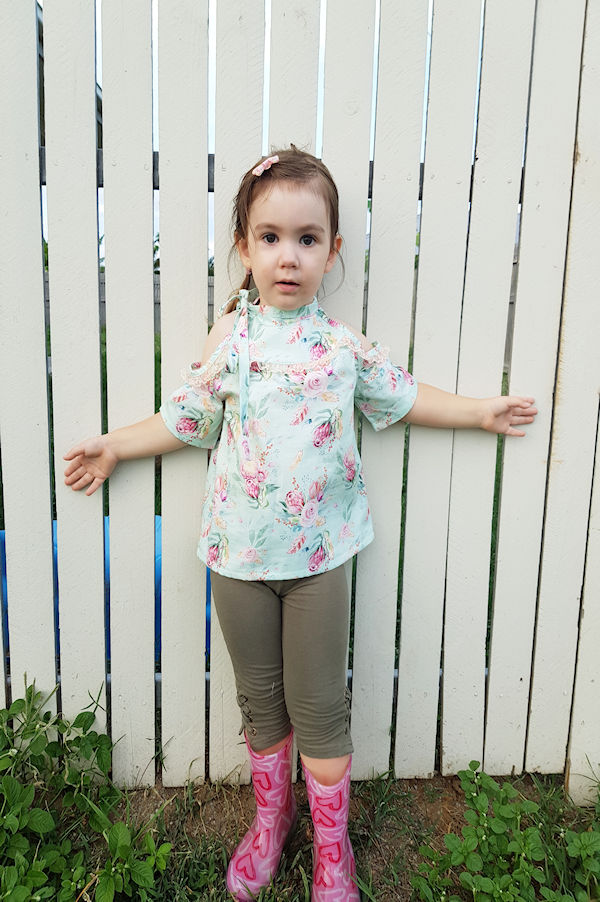
They tried out a variety of trim options (ruffle, lace, fringe, flat piping, or none):
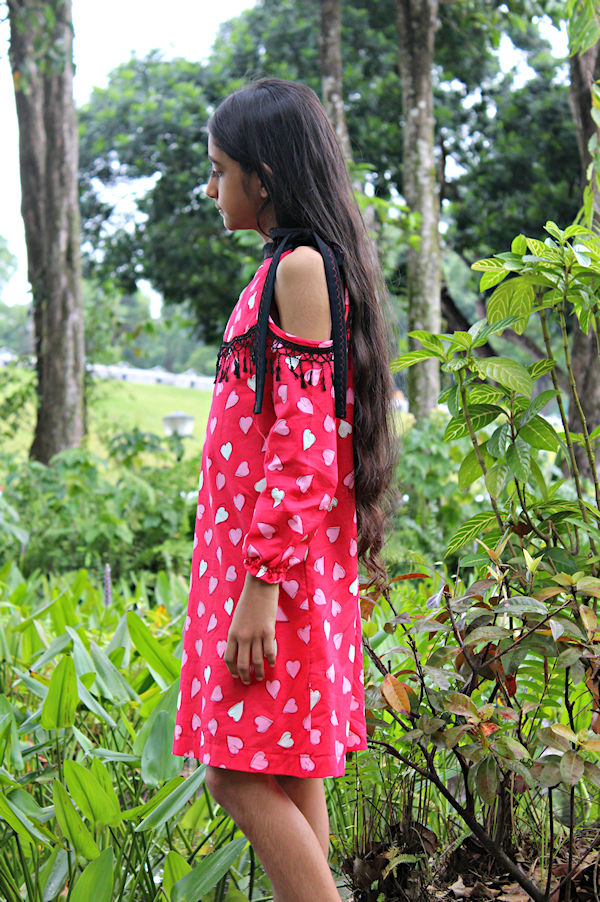
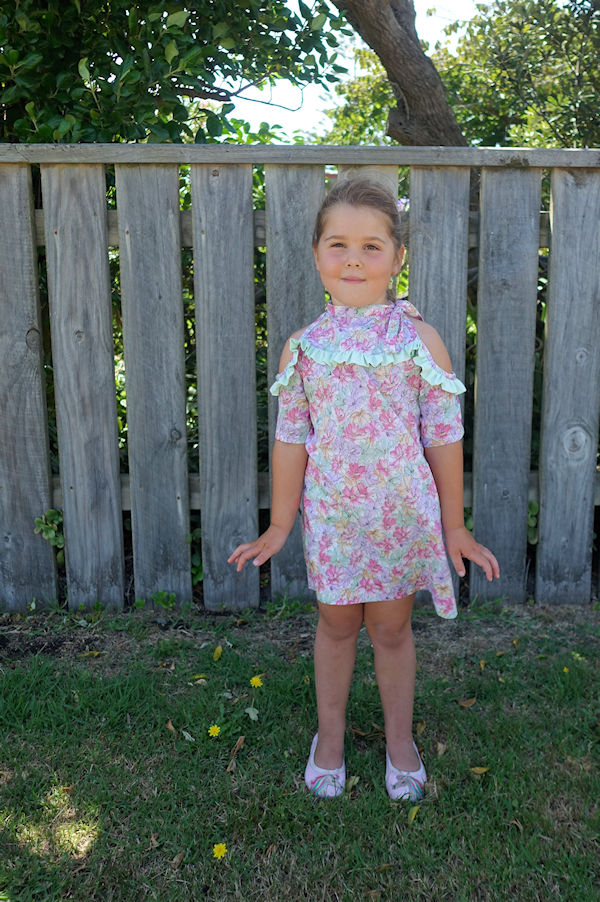
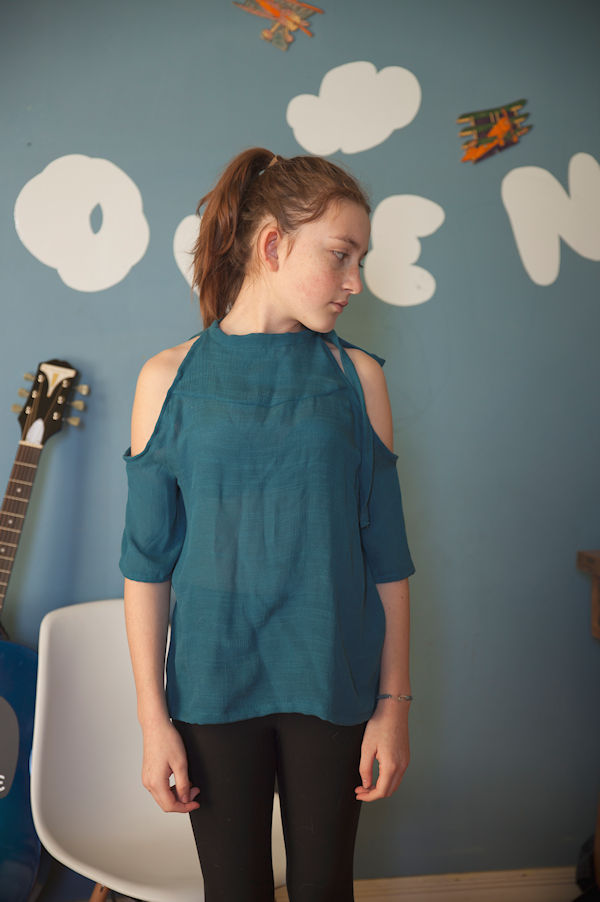
They tried out the different sleeve options (short, long elastic cuff, long button cuff):
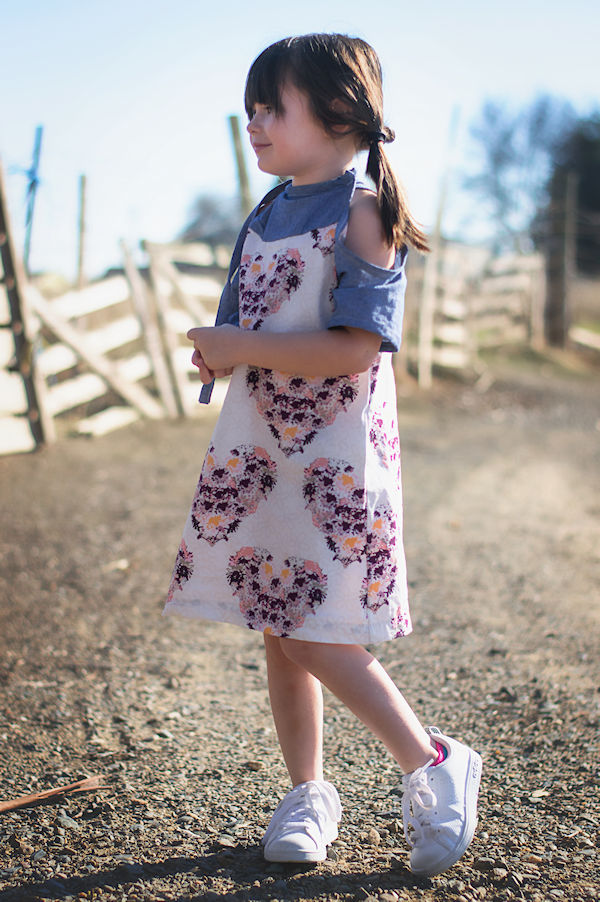
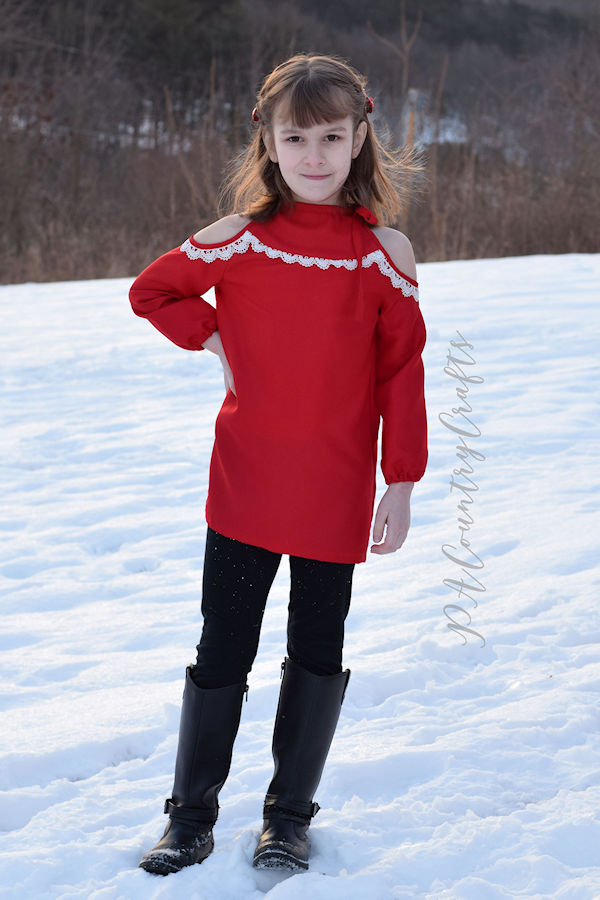
And of course, all the different length options as well (shirt, tunic or dress). We hope you’ll enjoy combining these options to make your own unique garments as well! And we especially hope to see them in the Fan Group! (It’s kind of one of our favourite things!)
Read more about this pattern HERE and HERE from Linsday of PA Country Crafts.
